Read the other posts in our Getting Started with Microsoft Forms series below:
Microsoft Forms is arguably one of the most underrated Office 365 services out there. Though it’s an excellent tool for getting users into the Microsoft cloud universe, it’s often overlooked as a simple survey tool by many. In this article, I’ll go over the basics of Forms and how to make the most of its features.
How to Start
To start using Microsoft Forms, you’ll have to head to the Microsoft Forms homepage and log in with your Office 365 school credentials, Office 365 work credentials, or Microsoft account.
After you’ve logged in, you might see the welcome screen regardless of if it’s your first time opening Microsoft Forms.
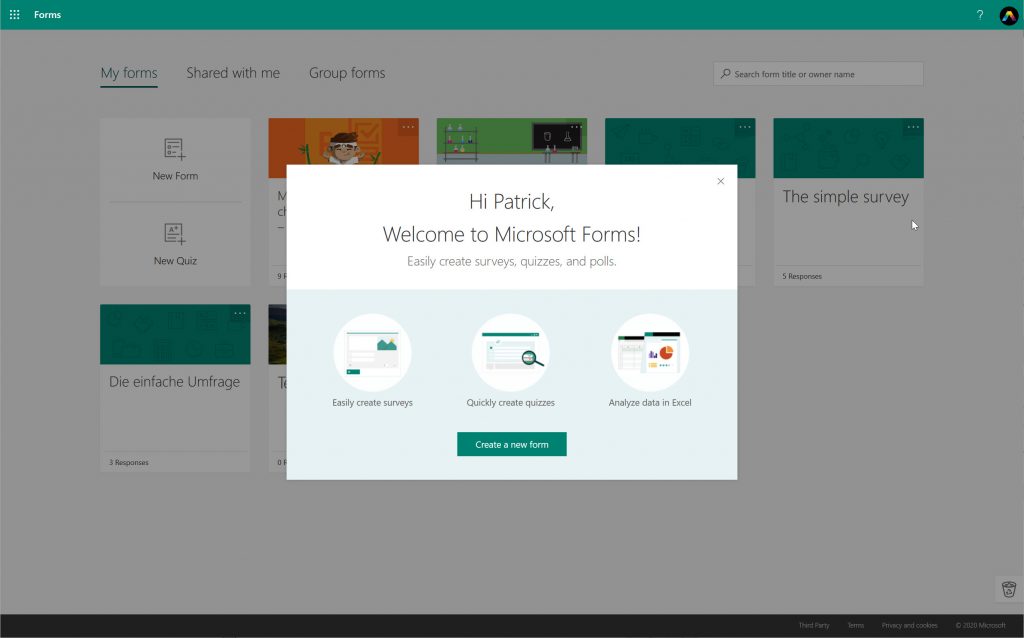
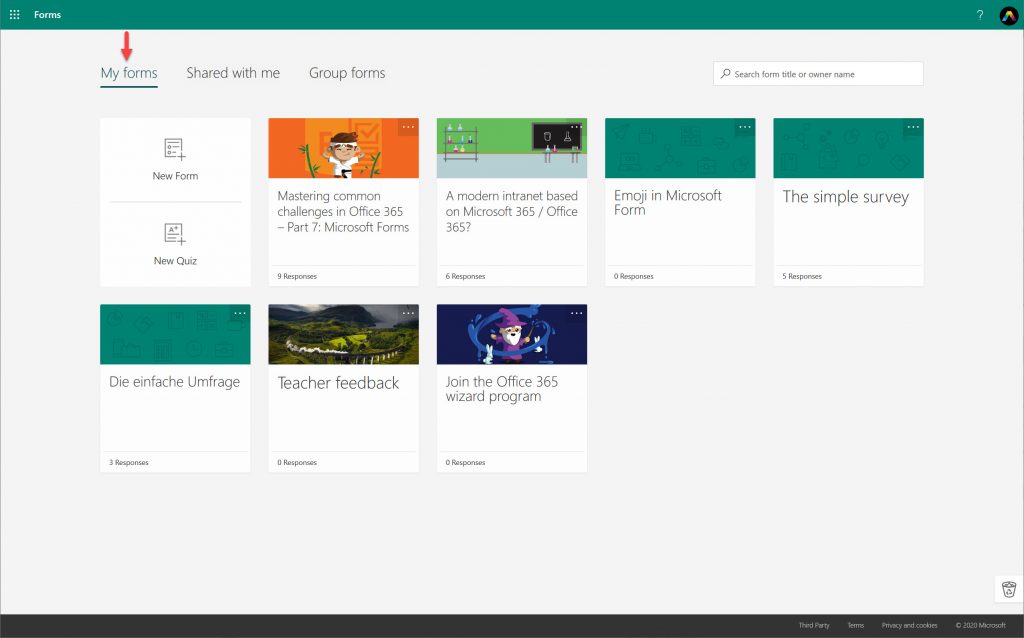
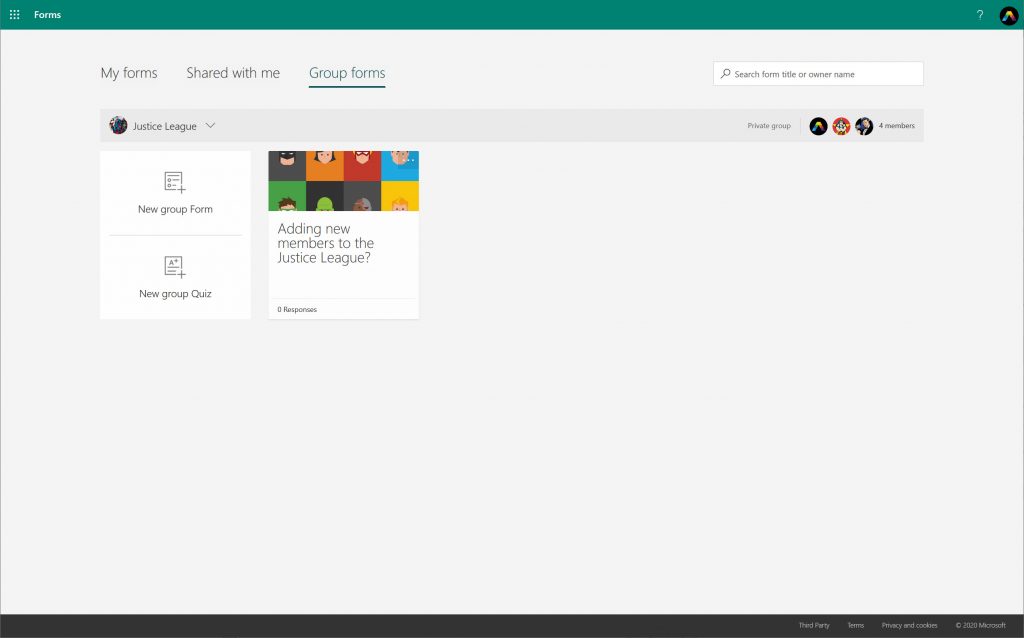
After dismissing that screen, you’ll find yourself in the My Forms section. All of those Forms are yours and are not Group-connected.
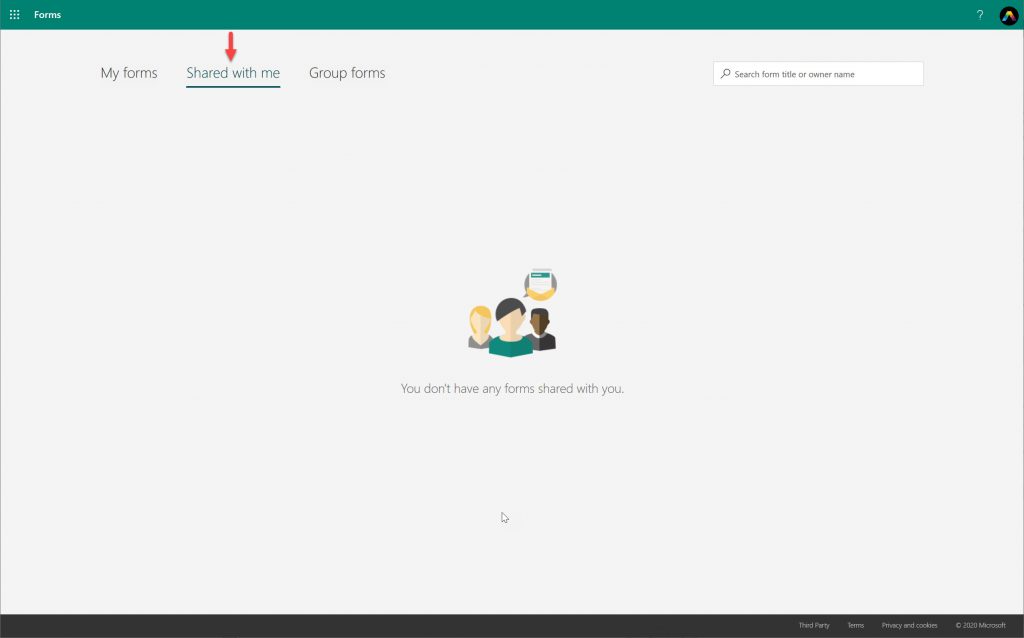
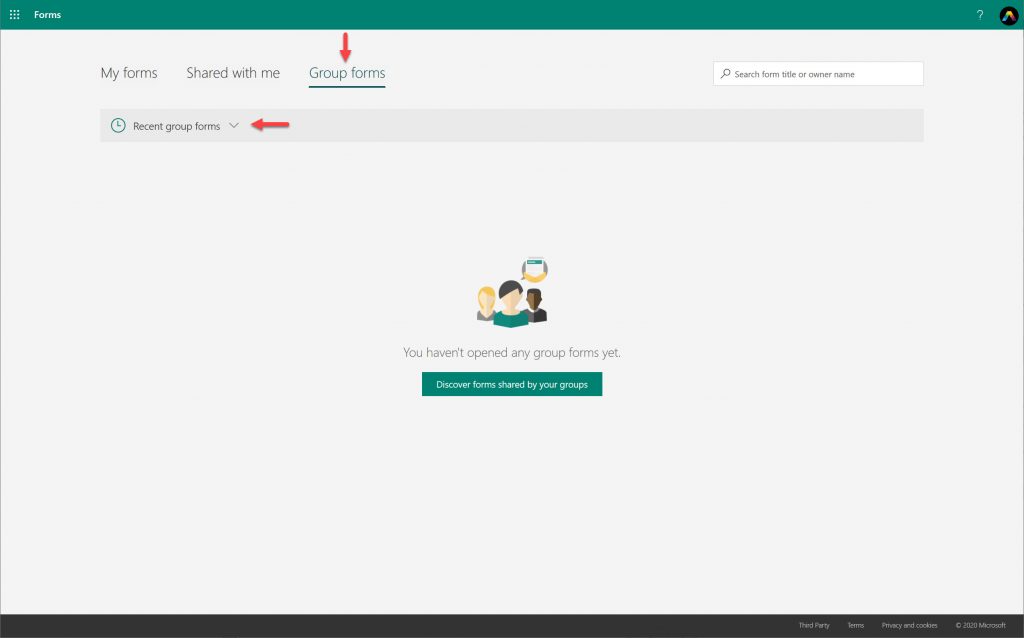
You can then switch to the Shared with Me view or select the Group forms view. If you don’t see any Group forms, you’ll have to choose a Group that contains a form.
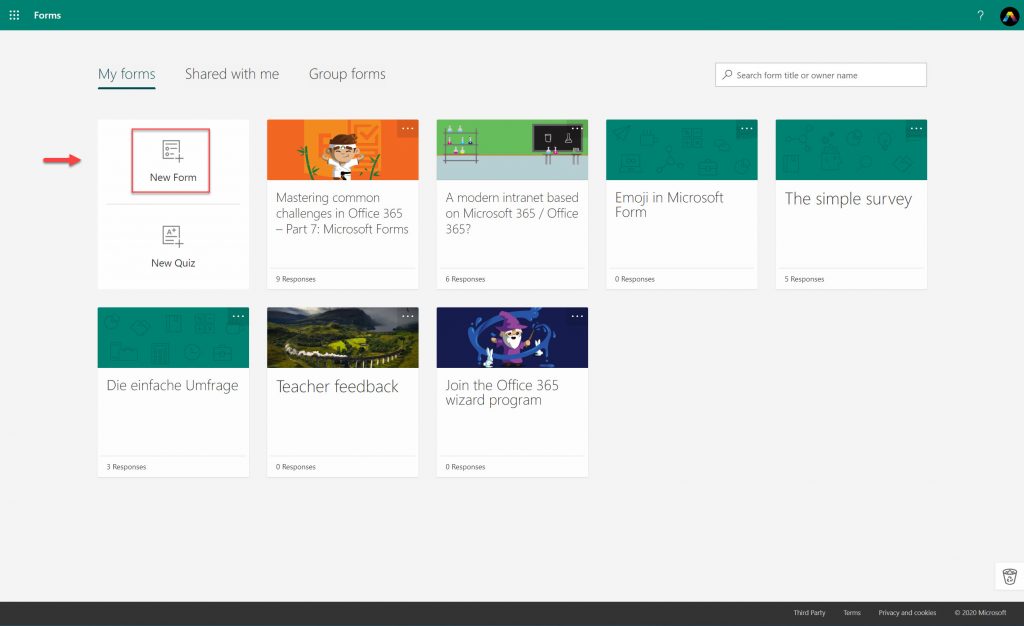
To start creating your first form, go back to the My Forms page and click on New Form.
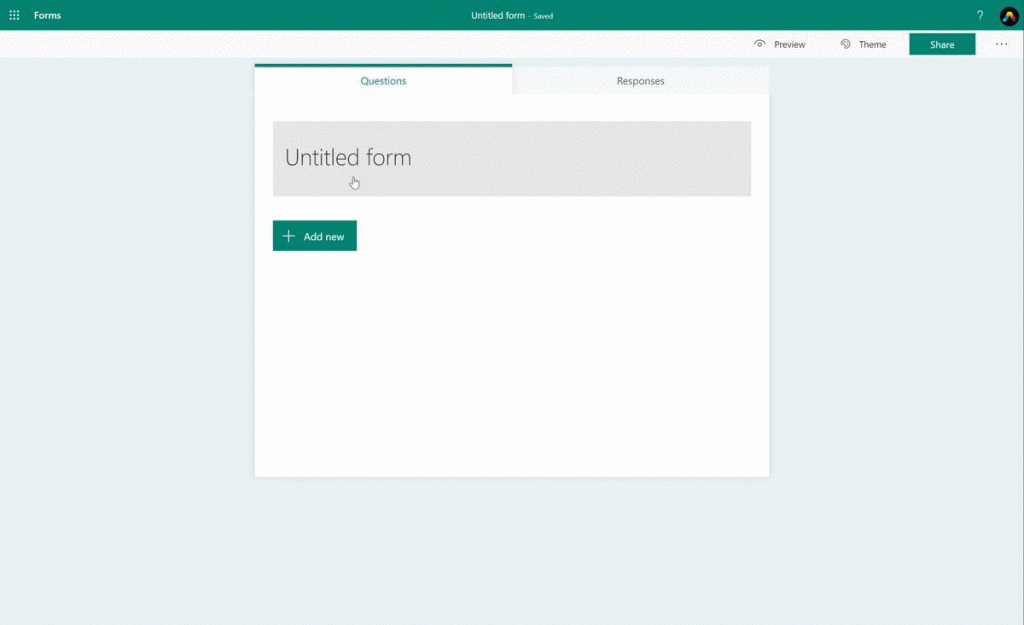
After being created, the form also gets saved directly from that view. You can customize the available header with a title, description, and picture.
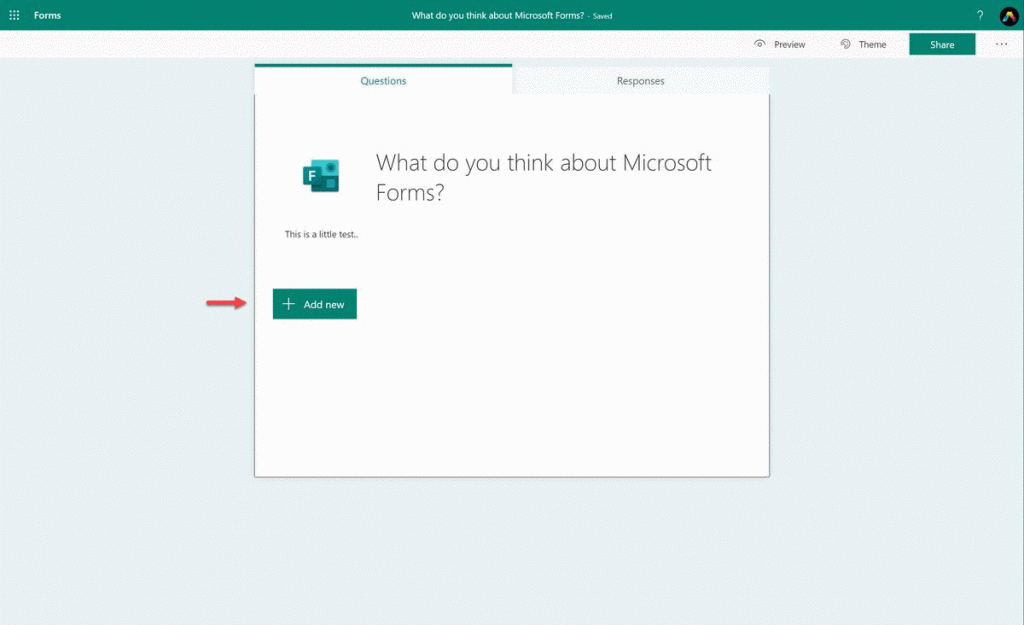
To add a new element to your form, click on + Add new. This will bring you to an overview of the current options. After you click the down-arrow, even more options will become available.
Which Elements Can You Use?
Choice
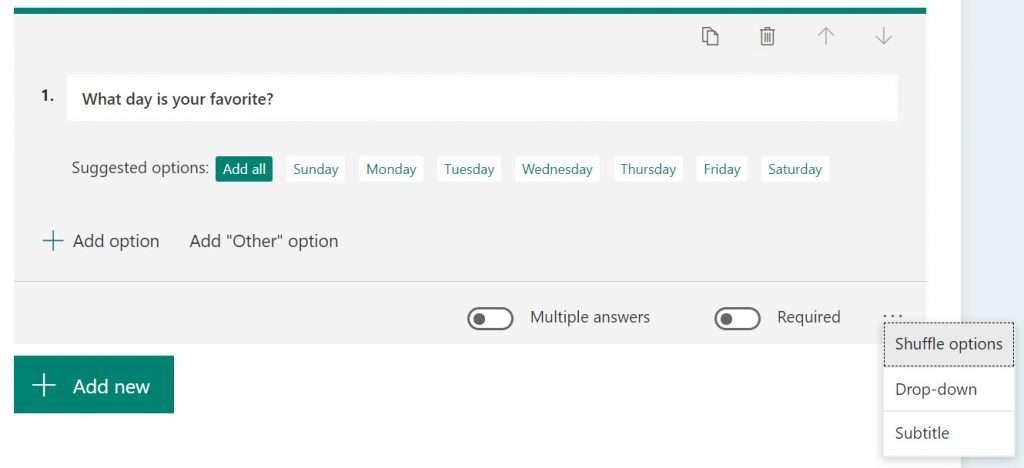
The most popular pick for a survey or quiz is the Choice element (multiple-choice assessments are rather popular, after all). In the past, you were able to create up to 60 options for participants to choose from, but this has since been vastly increased; I was able to continue adding options past the 260 mark.
Other customization options include:
- Setting requests to participate in surveys/quizzes as required
- Letting participants choose multiple answers
- Shuffling the questions and/or options into unique sequences per user
- Using drop-down answer displays
- Adding subtitles
- Uploading pictures to appear next to the survey/quiz title
- Integrating video content via Microsoft Stream and YouTube
All of this is made easier thanks to Microsoft Forms’ AI enhancements. For instance, if asking participants to choose a certain day of the week, Forms’ AI can recognize that and bring up the options for you automatically. Less writing for us all! 🙂
Text
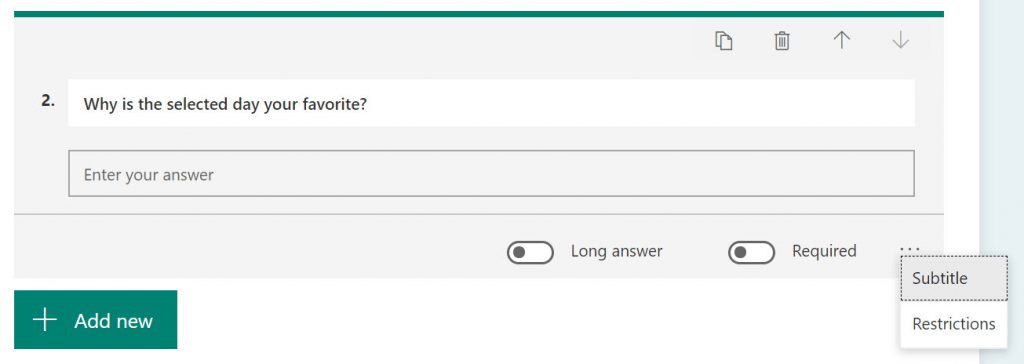
A text element is fairly straightforward; it’s the written alternative to multiple choice. That said, there are still a couple of features to note here. If you expect a long answer, for instance, you can mark that option to get a bigger answer field (note that the total amount is 4000 characters).
There’s also a Restrictions tab that can come in handy if you want to ensure participants don’t input nonsensical answers. If you’re asking something like, “How many Office 365 services do you think exist?” you’ll likely want to include a restriction like “The number must be between 5 and 10.”
Rating
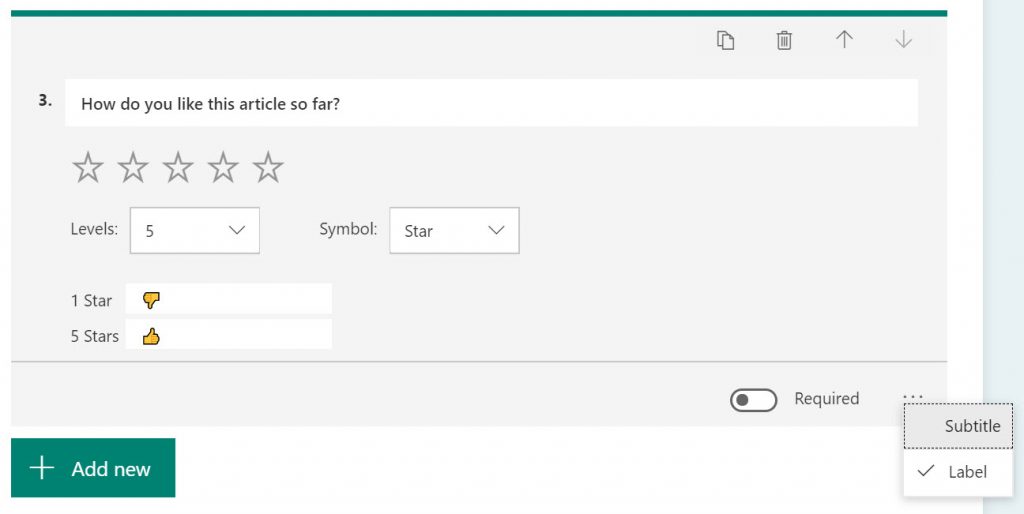
The rating option is another one of the most-used elements in Microsoft Forms. You can select between star and number as rating options and even add labels to make them easier to understand. In the picture below, you’ll also see something you might not have expected; you can add emojis as labels!
Date
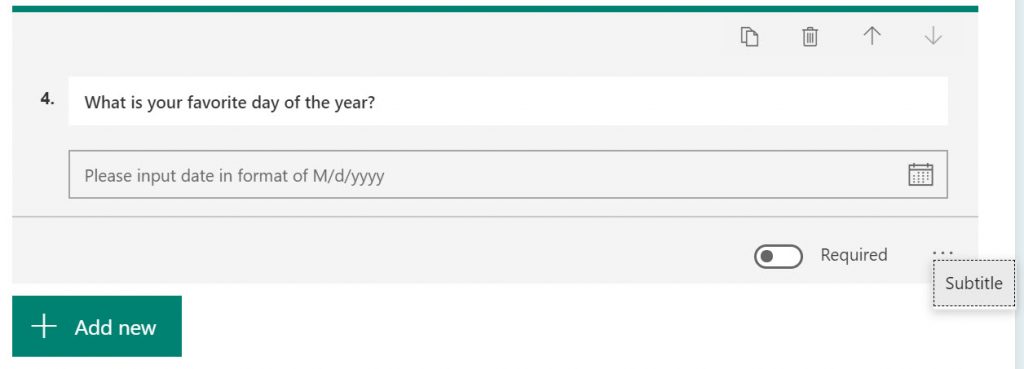
Finally, another obvious element is the date option. Though it might seem unnecessary at first glance, it can be handy when asking respondents when the best time to get in touch with them is or what their preferred team meeting date might be.
How Can You Benefit from Using Microsoft Forms?
To me, Forms is an essential tool when introducing Microsoft Office 365. It is a great way to keep in touch with your customers/employees as you can get feedback on a new release or feature.
In the past, I’ve used it for the implementation of a new start site design with SharePoint. I created three different start site designs and provided those links within the form. Users were able to visit those sites and vote on the version they liked the most within the form. With this approach, we were able to include our employees and made them a crucial part of development. They appreciated the opportunity, and we’ve seen a higher usage of that version compared to the previous one.
Learn how you can protect and secure your Microsoft 365 data with AvePoint Cloud Backup!
In the upcoming second part of this article, we’ll take a look at the other options such as Ranking, Likert, File Upload, Net Promoter Score, Section, and Branching. We’ll also take a look at theming, sharing, and settings.
For tips on how to integrate a Form into your Microsoft Stream video, reference this documentation.

