Increase your organization’s efficiency beyond Microsoft Lists with our webinar “3 Ways to Successfully Drive Office 365 Productivity and Change Management!“
Since first announced at Microsoft Build in May 2020, Microsoft has been rolling out Lists as a web app experience as well as an app for Microsoft Teams.
In this blog series I will do a deeper dive into what Microsoft Lists is all about, in what ways you can utilize it, and how you create, edit, share, and further improve your lists with other workloads like PowerApps and Power Automate.
This is the first part (Part 1) in which I give a brief explanation about what Lists are and show you how to get started building your own lists. I’ll also show you the integration with Microsoft Teams and how you can use filtering to get the information you want.
Let’s start with a bit of history…
Microsoft Lists is not new; it’s more like a makeover and modernization of what we know as SharePoint lists. There’s a great chance you’ve heard about these since they have been around for a very long time.
GET OUR NEWSLETTER: Subscribe here for weekly content from AvePoint
At its simplest, a list is a collection of data organized in a way to help you consume it in a flexible and easy way.
A library in SharePoint is also just a list customized to store documents. You enter data in the form of items to the list. Every item has information (metadata) added to it in columns.
This is an example of a list:

This list contains different items and in this case every item is a movie title. To add further use and possibilities to a list, we can also add lots more information to every item by creating more columns and populating these with values. These columns can be of many different sorts, which determines the different kinds of values that can be added for every item.
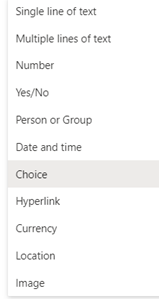
Using the “Choice” type column we can pre-define values like different genres
Creating custom columns for every movie title enables us to add further information about the movie. For example, we may want to know what type of genre it belongs to, its rating, and so on. The more details we have, the more useful our list can be.
Using a list as task management, each task can be created as an item. By adding a column like “responsible person” with the column type “Person or Group,” you can assign the tasks to users or groups within your organization
SharePoint lists have been used widely for a long time for many different purposes like keeping track of inventory, task management, and for various other use cases.
So, what is Microsoft Lists all about then?
The biggest overall purpose of using new Microsoft Lists is to make SharePoint lists more easily available, better looking, and simpler to use for end users. It’s how lists are presented to users and the way we work with them that makes a big difference.
There are three ways of working with Lists: from the new Lists app, from Microsoft Teams, and directly in SharePoint.
The New Lists App
First off, a new web app is available in the Microsoft 365 portal simply called “Lists.”

From here you can create and manage all your lists. Yes, you read that right; now you can create your own personal lists that are stored in your OneDrive.
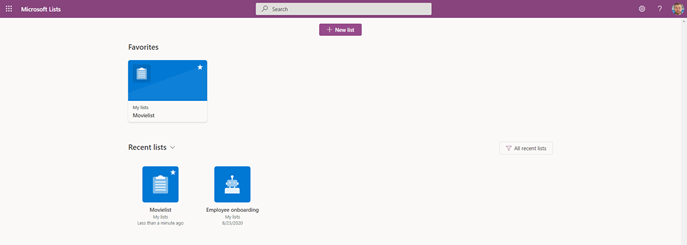
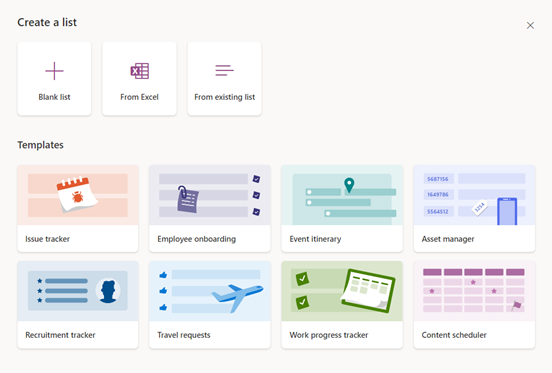
Clicking “New List” prompts you with a few options. You can:
- Create a list from scratch
- Pull in table data from an Excel file
- Create a copy from an existing list
As you can see below, there’re also a few templates to choose from to get things up and running quickly:
Whatever option you chose, you will get to pick where to save the list:
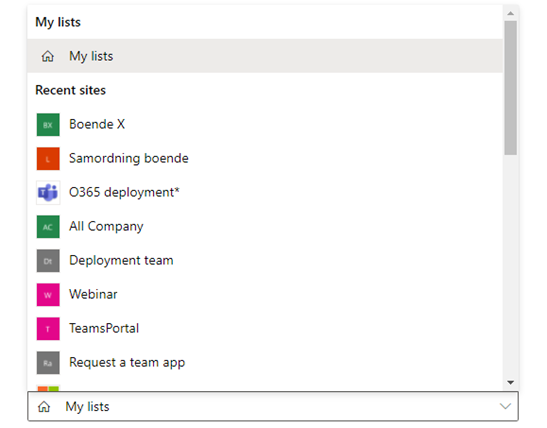
Picking “My lists” will create the list in your OneDrive, hence making it available solely to you unless you share it.
You will also see all the Teams you are a member of here, making it possible to store the list in the corresponding Team’s SharePoint TeamSite.
I choose to save it in my “Deployment Team.” The list will now be stored in the root of the TeamSite as seen here:
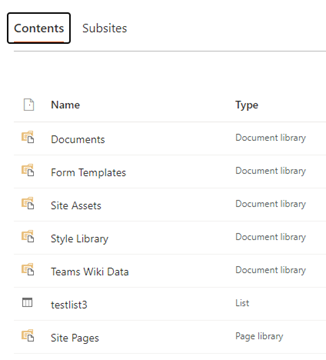
I can start working from it directly in SharePoint or the Lists app, and since the list is now stored in the SharePoint site of a Team, all the members of this Team have access to this list. Let’s look at how to surface this list in Microsoft Teams.
Learn more about our Office 365 governance solution.
The new Lists App for Microsoft Teams
Since Microsoft Teams is the hub for teamwork, using the Lists app in Teams is the way to go. In the “deployment Team” I added the app “Lists” by clicking the “+” sign in the tab area:

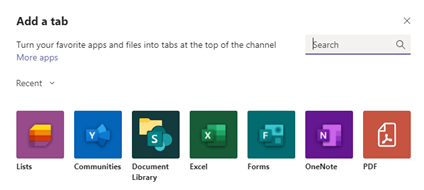
From here you get to pick either to add an existing list or to create a new one:
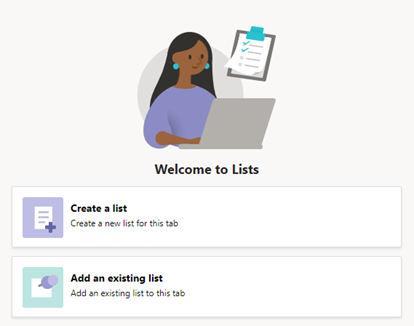
In the previous step I created the list “testlist3” from the web app and added it to this very team, so when I click “Add an existing list,” this list shows up. I can also choose to insert a link to any other list via a SharePoint link. This works for any older SharePoint list you’ve had as well.
Remember, however, that adding a list from somewhere else won’t alter the permissions for it.
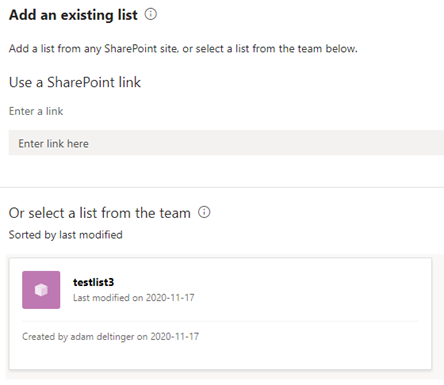
As soon as I select my previously created list it will be surfaced as a tab in my Team:
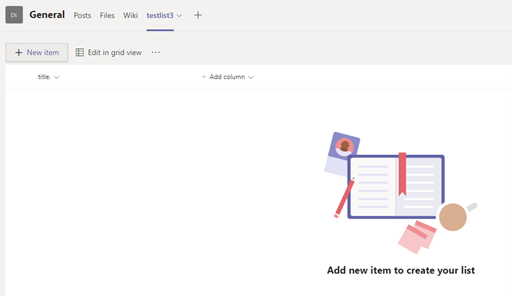
It doesn’t look like much right now, so let’s start building our list. I will use the example of a list with movie titles again.
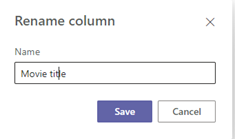
First, let’s rename the only column there is “Title.” Click the down arrow next to it and go to column settings -> Rename -> Type a new name:
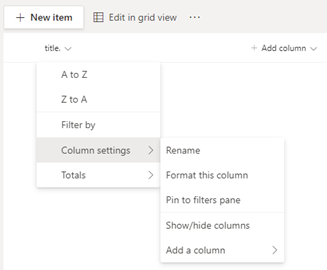
Next, we want to add new columns. Click “Add column” next to the Movie title column:
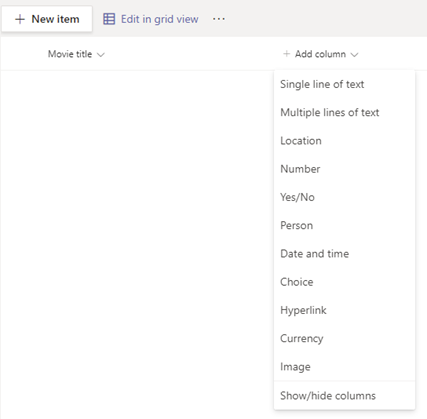
You’ll get a number of different choices regarding the type of column you want to create. In this case, I want to create the “Genre” column and want users to choose between a different set of pre-defined values, so I pick “Choice.”
Now I can name the column and set the different options:
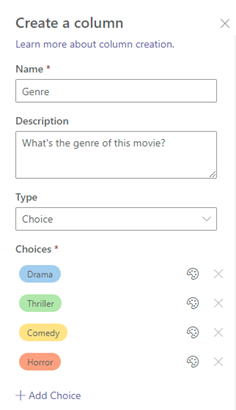
Notice that you can format the values to have different colors. Scroll down and click “More options:”
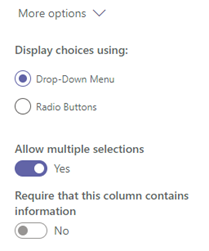
Here you can choose to have users pick the values from a drop-down menu or with radio buttons. Since I want the possibility to pick more than one genre for every movie, I must go with a drop-down menu and tick the “Allow multiple selections” option. If you want any column to require a value for any item added, be sure to also tick the “Require that this column contains information” option.
I then create the following columns:
- Rating – type “Choice” – added pre-defined values
- Seen movie yet? – type “Yes/No”
- Recommend to – type “Person or Group”
I now have these columns:

Let’s add some items to this list. Click “+New item” and fill in the values for each column:
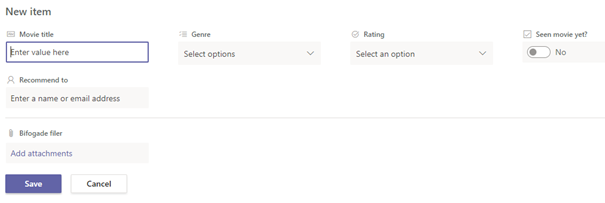
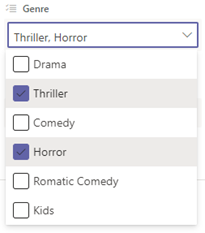
As you can see, the choice columns have pre-entered values:
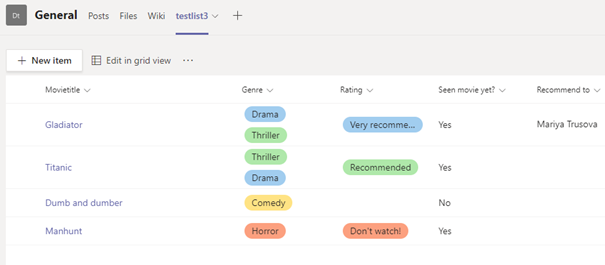
After adding some more items, our list now looks like this:
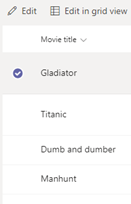
At any time you can edit any of the items by selecting one and clicking “Edit.” You can also select multiple items and edit all of them in one go:
Now having this list in our Team, users can start adding their movies and recommend a title to someone. Later in this blog series, I’ll show you how we can use Power Automate to notify users when someone recommends them a movie to watch.
Sorting and Filtering
If you click any column you will have several options like moving it left/right, hiding the column from the list, and filtering the list based on specific values.
You can also drag and drop the columns left and right
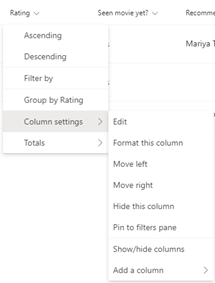
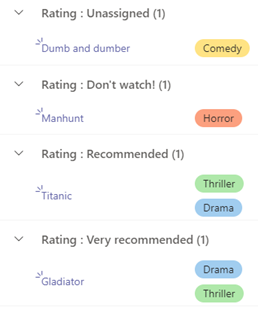
On the “ratings” column I picked “group by” and I will now have all movies sorted by what rating they have:
Let’s do some more advanced filtering. Click the filter button in the upper right corner to open the filters pane:
![]()
Here you can get the exact result you want by selecting the values you are looking for:
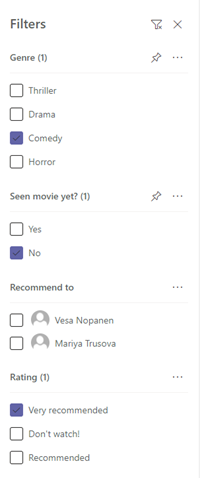
In this example, I filtered on all comedies I haven’t yet watched, with a rating of “Very recommended.”
And that’s it for now! Check back for Part 2, to learn how to work with different views, share a list (personal or Team) and per item-level sharing, use formatting on lists and items, and use templates.

