Microsoft Whiteboard has been going through a lot of evolution during this first half of the year. It has gained new capabilities as well as gone through some work internally to be able to support modern and future tasks. In this post, I’ll take a look at the available features of Microsoft Whiteboard so you know what’s possible before jumping in.
If you haven’t checked out the user interface for half a year or so, you may notice that the Whiteboard application has now a modern UI across all versions (desktop, web, Teams, and mobile).

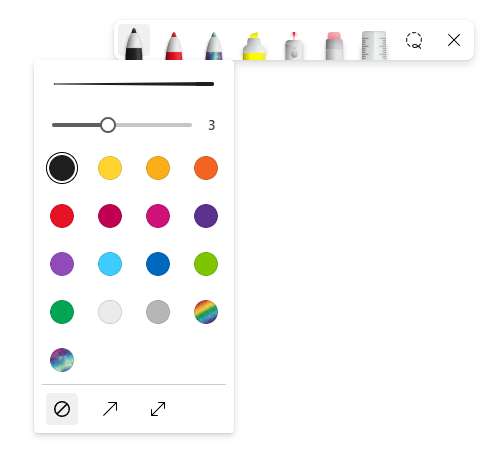
And if you click again on the top of the ink/pen tool you get another menu where you can define the color and style with or without arrowheads.
One of the latest additions has been the Laser Point. Until now, it was been only useful if you shared your own screen. Today, it works to highlight your laser to other users.

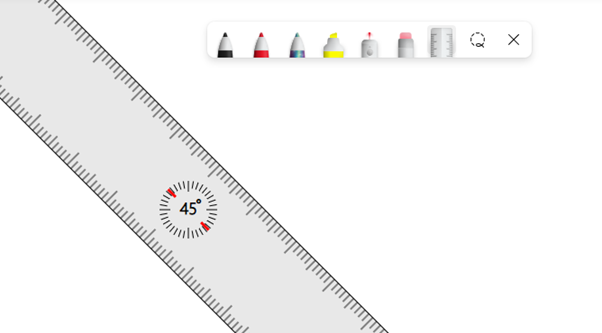
The ruler is the latest addition to inking/pen tools. You can toggle it on or off via the toolbar or just use Alt+R. The advantage of the ruler is that you can use it to draw straight lines – and also help with perspective and getting objects leveled to the same field.
There are multiple options under each content creation category on the left navigation bar.
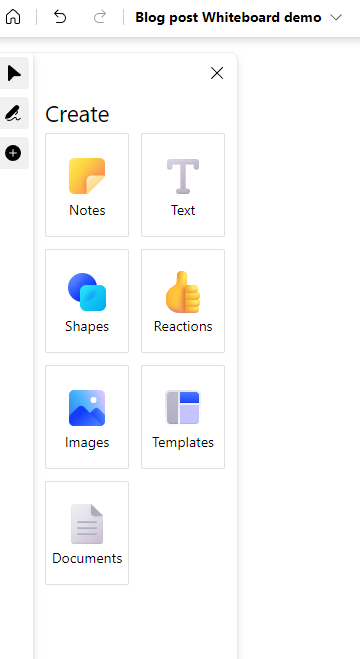
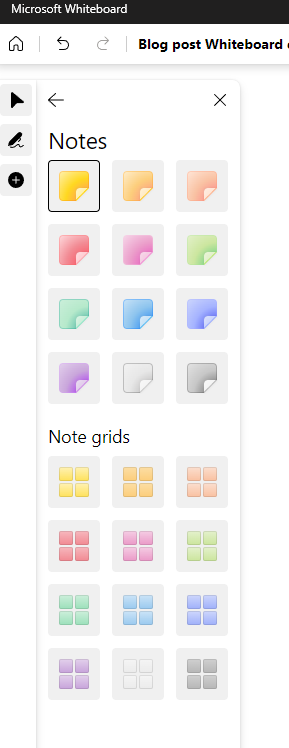
For example, you can use Notes to create either individual notes or note grids.
Templates have quite a variety of pre-made template options you can use to get started with various whiteboarding needs. There’re templates for project planning, workshops, teaching, and even gaming. Images lets you upload images to the board and Documents lets you post documents to the board as pictures.
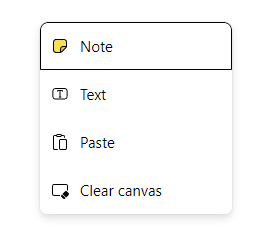
You can also use your computer’s clipboard to import content to the Whiteboard; a right-click of the mouse will activate a menu for quick inserts.
Notes, Reactions, and Layers
When you add notes, you can also now add votes (reactions) to notes.
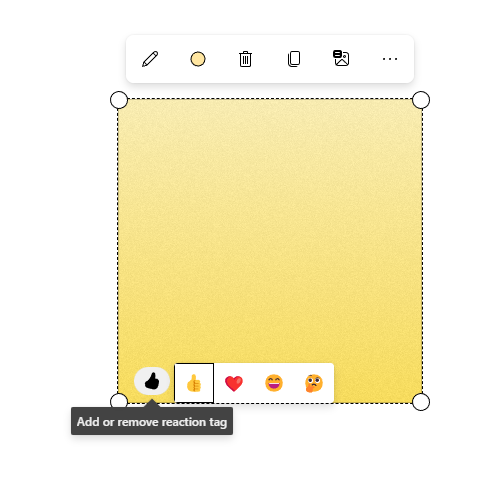
There’s still some work to do with Notes – despite its evolution and advancements, it isn’t perfect. For example, you can’t fit in as much text as you might like to, and resizing the note also resizes the text. Also, text formatting is quite limited inside the note.
And if you want to arrange content depth in the Whiteboard, it is possible via the “…” menu attached to each object. In this example, I have selected Notes.
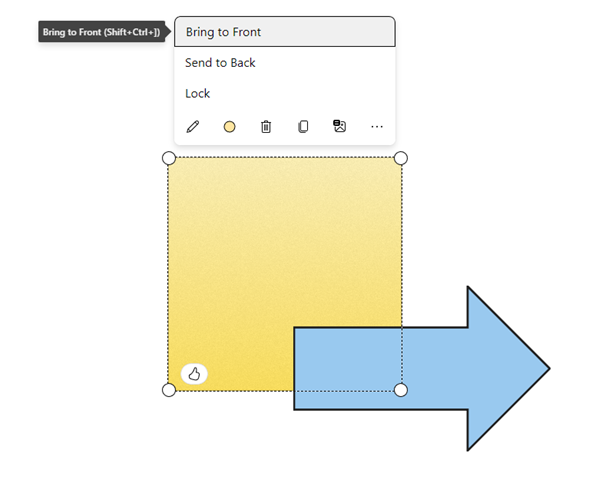
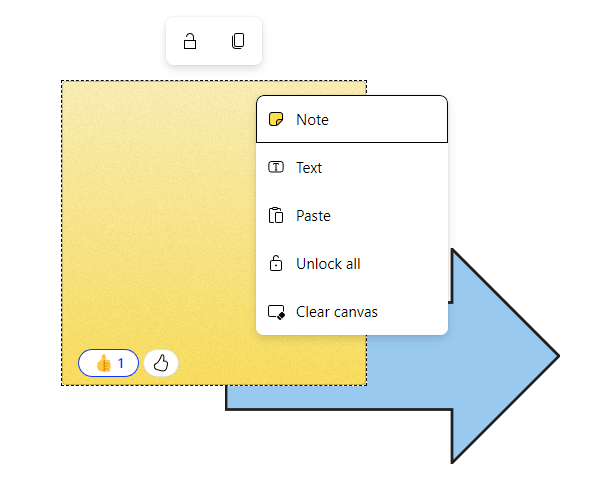
You can also lock content to the background so people can’t move things around accidentally.
Collaborative Cursors and Whiteboard in Teams Meetings
When you are in a Microsoft Teams meeting, you can check via options (the gear icon) if Collaborative Cursors are on or off. As the meeting organizer, you can also define if others can edit the board or not.
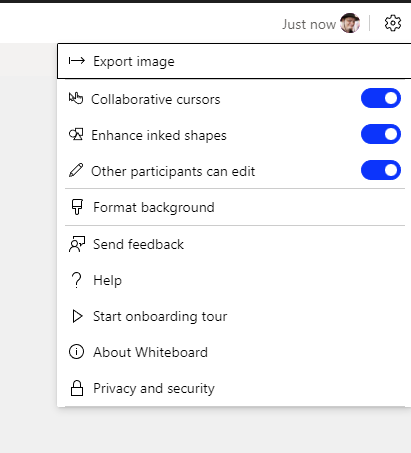
With Collaborative Cursors it’s easy to see who’s working on what area of the board.
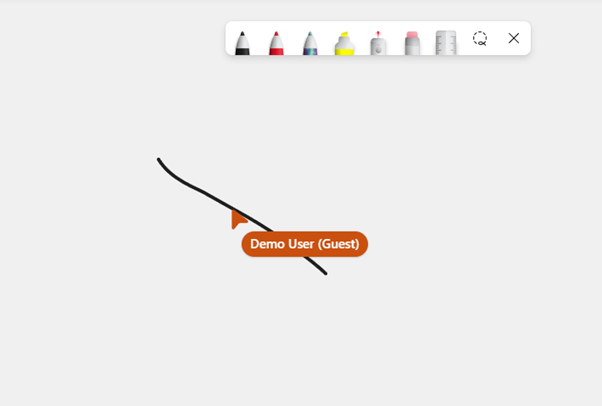
And yes, you can share the Whiteboard to Teams meetings with external users! In this example, I had one anonymous user (named Demo User) joining the same meeting and shared the Whiteboard to everyone in the Teams meeting. Externals have access to the Whiteboard as long as you are sharing it; after the sharing ends, they don’t have access anymore. People in the same organization as you will have access to the Whiteboard after the meeting.
I have tested the Whiteboard sharing with externals in a public webinar with 300 participants. It was quite chaotic with Collaborative Cursors on the screen, but Whiteboard worked really well with a large number of users. Since Collaborative Cursors is a personal setting, you can save yourself from the chaos by turning it off in case there are lots of people working on the board at the same time.
Whiteboard Files are Stored in the OneDrive
The latest change to Microsoft Whiteboards is that files are stored in the creator’s OneDrive for Business. For example, these two demo boards used when writing this blog post can be found from my OneDrive in the Whiteboards folder:

This means these files have version control and they honor recycle bin settings. In case you mess up your board, you can bring back an earlier version – or if you delete it accidentally, you can restore it from the recycle bin.
Nothing stops you from copying the Whiteboard file to folders in Microsoft Teams, but you cannot edit it via Teams if you do that. Clicking the file will open it in the browser using the Whiteboard Web version.
There are plenty of exciting features coming to the Microsoft Whiteboard during the next half year. Stay tuned for more information!
Editor’s note: Enjoying Whiteboard and looking for more ways to keep track of your applications? Learn how MyHub for Microsoft 365 can help you stay more organized and productive.

