Editor’s note: This post was updated in January 2023.
Power Apps is, fundamentally, a development platform for mobile and web apps. It allows “citizen developers” to reach capabilities that were once only reserved for high-end development tools by enabling low to no code custom application creation.
What’s more, Power Apps is generally quite easy to learn. You can use it to swiftly take charge of your destiny as long as you make the correct decisions when it comes to structuring. Follow this guide to help avoid any nasty surprises.
Table of Contents
What is the Power Platform for Power Apps?
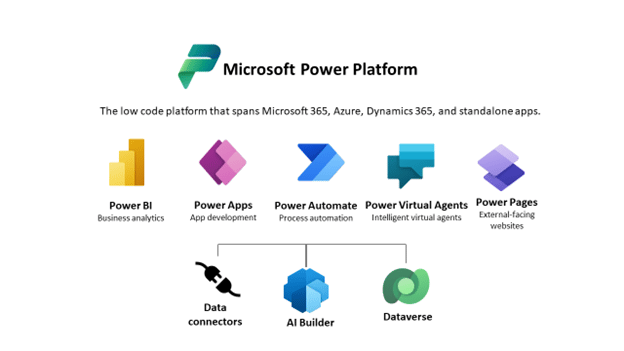
Microsoft Power Platform is comprised many different applications and tools, but the most used currently are Power BI, Power Automate, Power Apps, and Virtual Agent. Microsoft has been increasingly promoting this as a whole. These four services provide tools to manage our digital world where data is king and the basis of any enterprise process. Their applications are as follows:
- You can display and analyze data with Power BI.
- You can act and modify data with Power Apps.
- You can automate data with Power Automate.
- You can create intelligent virtual bots with Virtual Agent.
- You can build low-code business websites with Power Pages.
How to Build an App with Microsoft Power Apps
The simplest way to build a Power Apps app is to start from the data source. This is part one in a three-part process:
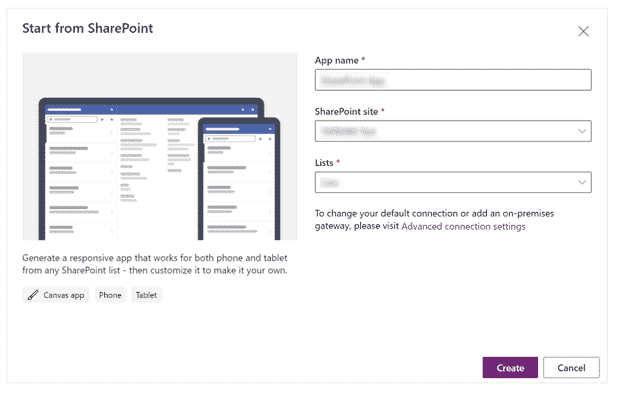
- For this example, we could start from a Microsoft list, such as one that stores consulting interventions or pending IT tickets:
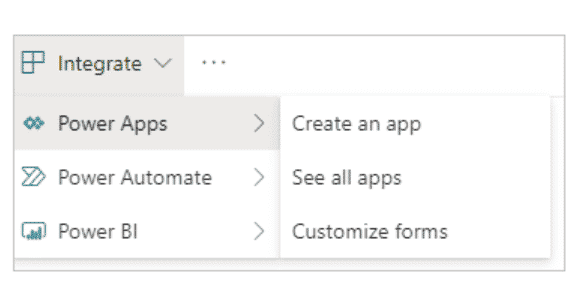
2. Next, we’ll select the “Create an app” option in the Power Apps menu:
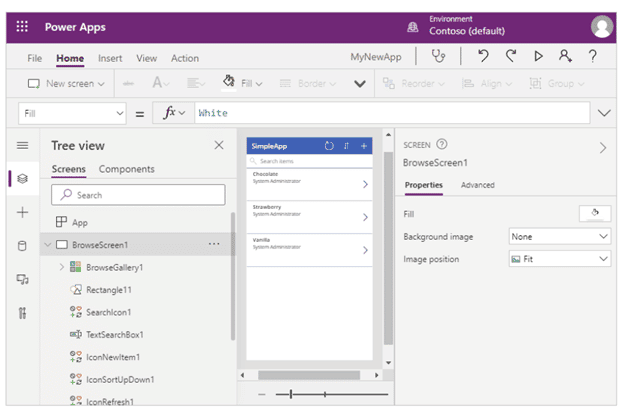
3. This takes us to the Power Apps Studio where we’ll find a fully functional canvas app generated by the system:
Keep in mind that these are just the default choices. They hide a much wider set of available options, configurations, and architectural choices that Power Apps provides. Without further ado, let’s take a more in-depth look!

Step 1: Select Your Power Apps Environment
There are five tools or environments that you can work within Power Apps, and they each have their own capabilities and roles.
Power Apps Website
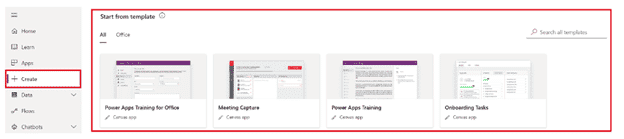
The website is where you’ll begin your Power Apps service journey. This is where you will be able to create a new app and to manage existing ones.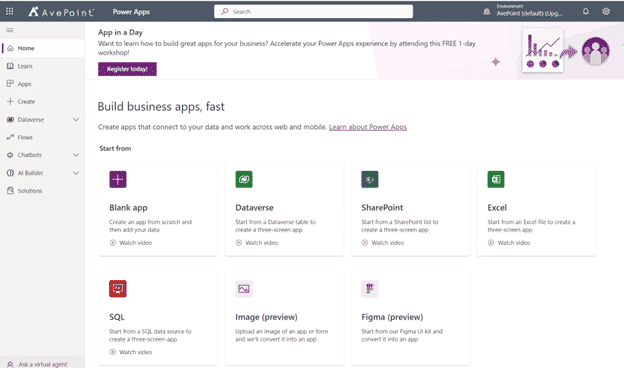
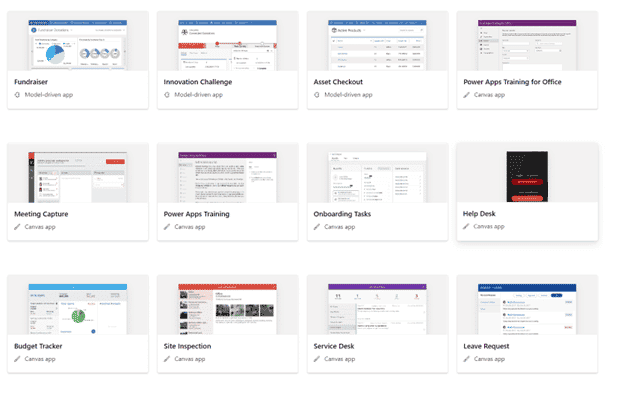
Here’s a small snapshot of some of the templates that might give you some usage ideas for the app:
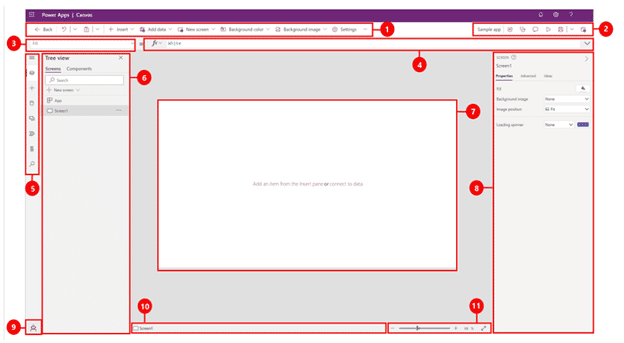
Power Apps Studio
Here you’ll be able to design and adapt apps that you create to your specific business needs! Power Apps Studio is specifically for designing, building, and managing canvas apps (which we’ll touch on in the next section).
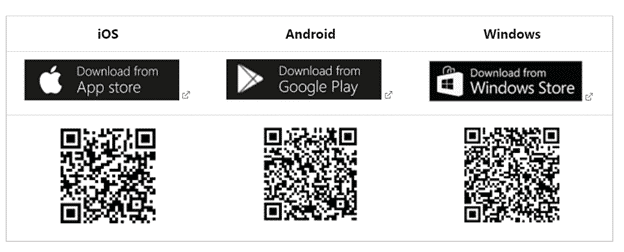
Power Apps Mobile App
This handy mobile app is available on both phones (iOS, Android) and tablets (Windows 10). No matter the platform, the app provides a runtime environment where you’ll be able to execute all of your Power Apps apps. This includes the ones that were shared with you as well as the ones you designed and coded yourself.
Power Platform Admin Center
Administrators can manage Power Apps in the Power Platform admin center at admin.powerplatform.com. Here, you have the power to create and manage environments, view key metrics, apply DLP (Data Loss Prevention) policies, adjust user roles, and submit support tickets, among other capabilities.

Microsoft Dataverse for Teams
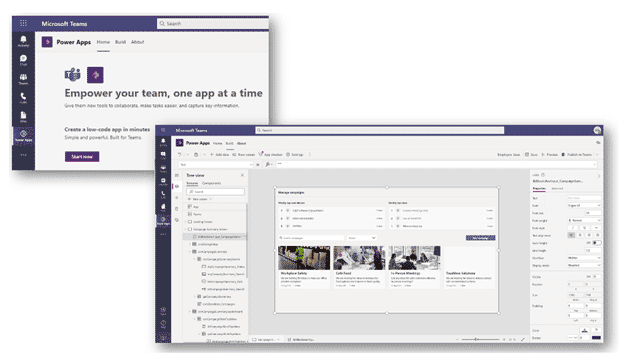
With Microsoft Dataverse, you can create apps and workflows directly in Microsoft Teams. This fully integrated experience allows app makers to quickly publish, share, and edit apps for anyone on the team to use, without having to switch between multiple services.
Step 2: Select Your Power Apps Application Type
There are a few main types of apps you can create with Power Apps:
- Canvas apps
- Model-driven apps
- Portals (now Power Pages)
- Cards (in preview)
Canvas apps enable you to organize freely and easily interface by positioning controls and fields in a “pixel-perfect” user experience. The main focus here is bringing your business knowledge and creativity to the app’s design. Canvas apps target lightweight apps or even disposable apps that can be designed and used in minutes, all within Microsoft tools where your data lives.
Model-driven apps are built on top of the Common Data Services used to help rapidly build forms, processes, and business rules. They focus on targeting heavier apps that are intended to be used intensively (multiple hours at a time). These types of apps must be built in the Power Apps site.
When working with model-driven apps, a good amount of the layout is determined for you and mostly designated by the components you add to the app. By contrast, the designer has complete control over the app layout in canvas app development.
Power App Portals, which are external-facing websites that allow users outside your organization to sign in with a wide variety of identities, create and view data in the Dataverse, or browse content anonymously, recently became Power Pages.
Cards is currently being previewed as an additional way to create apps in Power Apps. These apps, which Microsoft calls “micro-apps,” are extremely lightweight, allowing you to quickly create cards that surface data through Power Platform Connectors, or use your own business logic for customization. I am sure we’ll hear more about this option as Microsoft continues to develop it.

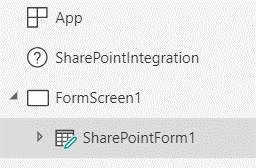
There’s also technically a “fifth” type of app that’s a specific version of Canvas: SharePoint forms integration. You can leverage Power Apps to customize any Microsoft List or SharePoint library form. After pulling up the “customize forms” menu, you would then get access to one specific component in your Power Apps called “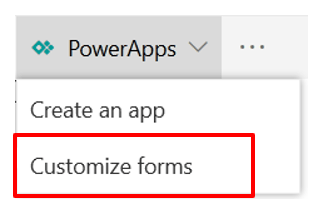 This control is responsible for communicating user actions between PowerApps and SharePoint. It adds several properties like “OnNew,” “OnSave,” and “OnEdit” which provide ways for the app to respond when a user clicks or taps the “New” button, taps an item, or taps the “Edit All” button.
Step 3: Select Your Storage Type
Power Platform and specifically Power Apps target a world where data is king and the foundation of any business process. Thus, choosing the correct data sources is very impactful when it comes to designing an app.
Data are stored in a data source and you import them in your app by creating a connection.
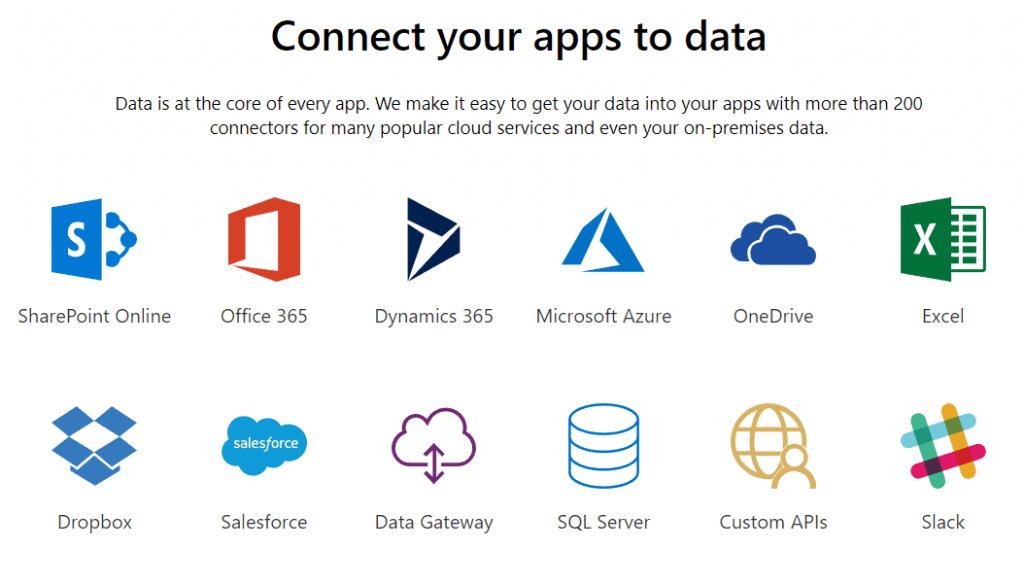

SharePoint lists and Excel spreadsheets are typically some of the most usual data sources, but there are also more than 200 data connectors available. Power Apps share connectors with Power Automate and Logic apps (the Azure service on top of which Power Automate is built). One of the great strengths of the platform is to provide connectors towards Microsoft world: Microsoft 365, SQL Server, Azure, etc., as well as towards external data sources like Salesforce, Dropbox, and Google Drive.
In Power Apps, a connector can provide data tables, actions, or both. Here’s for example of how a data source to a “Lessons” table can be used in Power Apps:
![]()
An action will have to be manually connected to a control to be executed:
![]()
Be aware that the choice of data sources will have an impact on licenses needed to create and execute your app. If you choose or need a Premium source (like Salesforce or Common Data Service), you may need advanced licensing.
Step 4: Connect Your App to an Online or On-Premises Data Source
Power Apps is born in the cloud and can natively connect to cloud data sources. That said, it can connect to on-premises data sources as well. For that to happen you should configure an on-premises data gateway. This gateway is shared between several cloud apps like all the Power Platform (Power BI, Power Automate, Power Apps), Azure Analysis Services, and Azure Logic Apps.
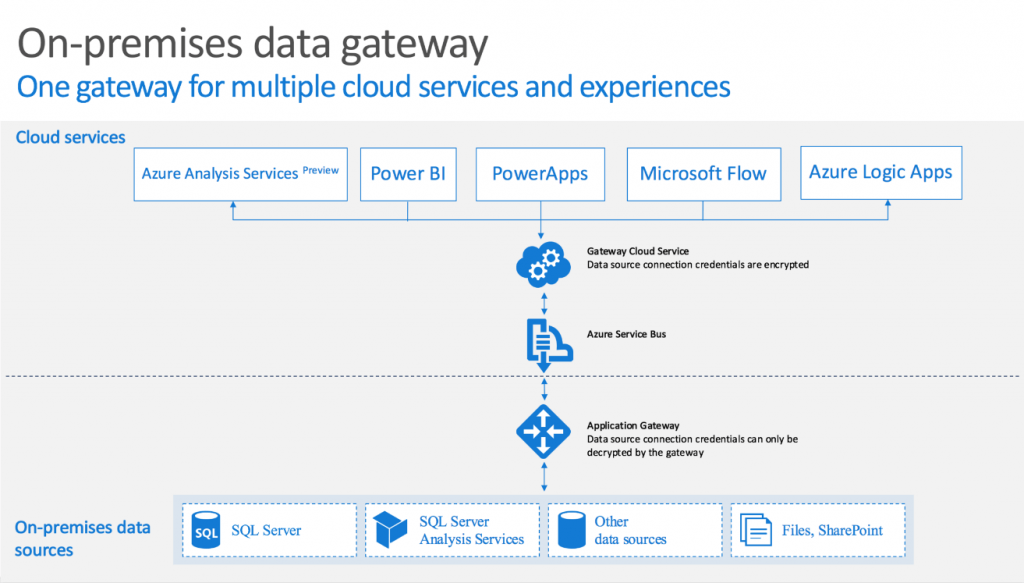
At the time of writing, supported data sources by the gateway are:
- SharePoint
- Oracle
- SQL Server
- Filesystem
- DB2
- Informix

Here’s hoping these elements will allow you to design better Power Apps for solving your business’ needs.