Guide: Get Started with Microsoft Flow Today! (Part II)

Do you want to make your hybrid SharePoint environment as seamless and efficient as possible? Sign up for our free webinar-on-demand to learn how from industry experts!
In part one of this two-part post we discussed the integration of Microsoft Flow with SharePoint modern lists and libraries that are natively built in. More and more Flow functionality is being built into SharePoint; even since the first post was released something new has been added! There is now the option to enable Flow to handle the process of submitting a SharePoint page for approval and then publishing it. More details can be found here.

Besides the built-in Flow functionality, there are many other ways to collect and sync data, copy files, get notifications, and send approvals in order to automate business processes. Via the data gateway you can even use Microsoft Flow with your on-premises SharePoint 2013 and 2016 environments. In the second part of this guide to SharePoint and Flow integration we will discuss flow templates, SharePoint actions and triggers within Microsoft Flow, and approvals.
Templates
A quick and easy way for people who are new to using Microsoft Flow to become familiar with what it has to offer is to browse the many templates available here. These templates can be used as is or as a starting point and modified to meet different business needs.
Check out this guide on how to get the most out of your SharePoint and Flow integration! Click To TweetMicrosoft Flow connects with hundreds of services, so be sure to use the search functionality to only view the SharePoint templates. There are also filter options to view only flow templates of certain types (e.g. data collection or notification flows).
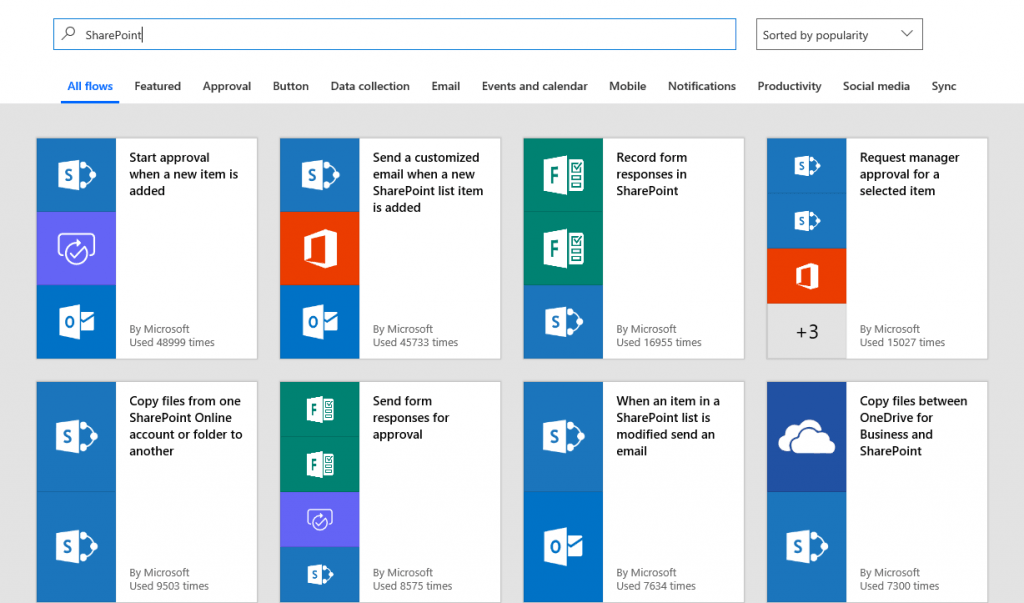
When you select a template to use, you will be shown the connectors that are needed. If you do not have a connector to the service yet, you will need to create it by signing into your account. Some organizations choose to use service accounts instead of an individual user’s account for management purposes. This is a common practice for organizations creating SharePoint Designer workflows. It is ultimately dependent on the preference, security, and IT processes of the organization to determine if this is the right choice or not.
SharePoint Actions and Triggers Within Microsoft Flow
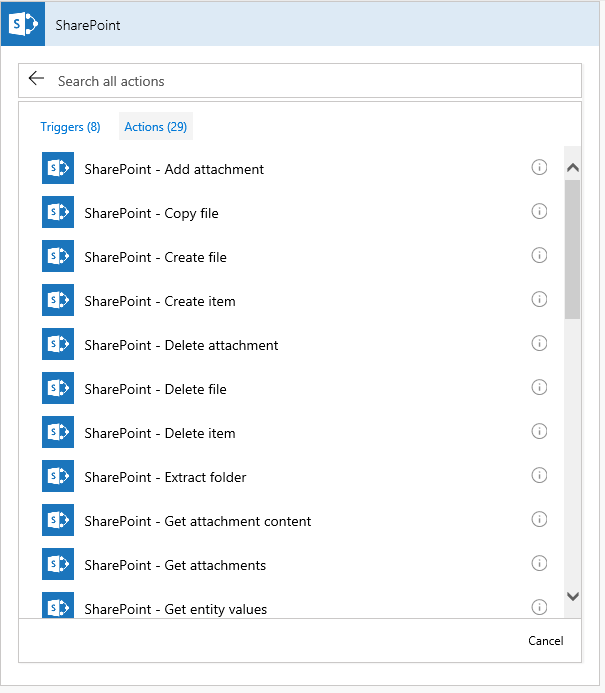
A trigger is what causes a flow to initiate. There are eight SharePoint triggers in Microsoft Flow that include when a file or item is created, modified, or deleted. The action titled For a Selected Item works in a similar way to the Request Sign-off flow covered in post one.
SharePoint users can select an item in a list or library and then choose to run the flow on that specific item. There are also options to start a flow if a file’s properties are created or modified. When you choose the SharePoint trigger you will need to enter the site address and select the list or library name.

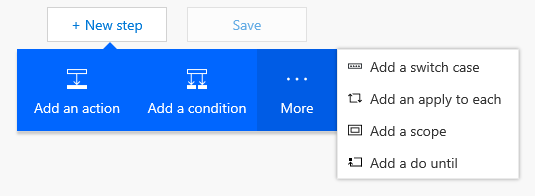
You can add conditions and actions once you have your trigger established. Conditions cause an action to occur only when something is true. Actions are the work that the flow actually performs. There are 29 SharePoint actions available within Microsoft Flow that allow you to create and update items, files and much more! You can also extract data that can be used in later stages of your flow.
One great feature of Microsoft Flow is that you can schedule your flows to run at different time increments. This was not available in SharePoint Designer. You can apply this to each action, iterate through a SharePoint list or library and even take action on all of the items at once. This is especially useful if you want to take action on an item based on a date field. You can compare the date in the field to today’s date in a condition and then take an action.
Advanced Microsoft Flow users are able to accomplish a lot using the Send Http Request to SharePoint option that allows you to execute SharePoint REST API calls. This action makes it possible to automate processes in SharePoint that do not have an action available in Microsoft Flow yet. Some examples are setting permissions to a file or list item and creating a sub-site. Please note that configuring the Send Http Request to SharePoint action requires development knowledge and is not going to be as simple as using many of the other actions.
Approvals
There is a common need in organizations to automate approval processes. In part one we discussed the Request Sign-off flow that is built into modern lists and libraries and incorporates the Microsoft Flow approval functionality. However, organizations often desire to automate more complex approval scenarios.
Guide: Branding Consistency in Hybrid SharePoint Scenarios
Microsoft Flow approvals can be customized to send items for approval in sequential order or in parallel. Also, multiple people can be assigned to each approval step with the option of requiring everyone to approve or for just one approver to approve. One thing to note is that you cannot assign an Office 365 group to receive the approval. This is different than SharePoint Designer workflows that often sent the approval emails to SharePoint permission groups.
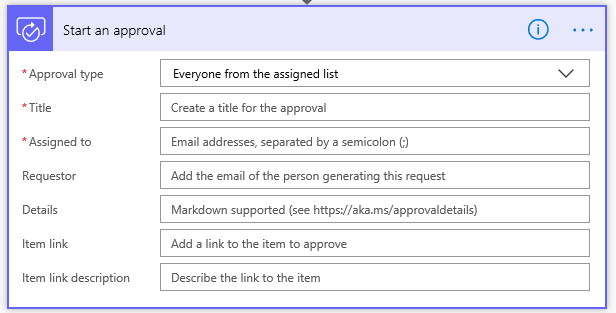
Microsoft Flow approvals can all be handled in a centralized location. The approval center provides users with all of the items awaiting their approval and the ability to approve, reject, email the requester, and reassign the approval item. It also shows all of the approvals the user has sent, as well as the history of all approvals sent and received. Besides the approval center, items can be approved or rejected from an email that is sent to the assigned approver or the mobile app.

When you begin using Microsoft Flow with SharePoint you will realize that there are many things you can do that you were not able to with SharePoint Designer. However, you may find that some of the functionality that SharePoint Designer provided is a bit harder to replicate using Microsoft Flow at this point.
As more and more organizations move to SharePoint Online and utilize all of the Office 365 applications, it becomes critical to be able to move data and content between different services in the cloud.
There is a free version of Microsoft Flow, so there is no reason not to begin experimenting with the functionality even if your organization is not yet ready to move business process automation to the cloud. For additional Microsoft Flow resources, check out this guide of user resources put together by Matt Wade.
Like what you read? Be sure to subscribe to our blog for more quality content!
Melissa is an AvePoint blog contributor and currently serves as a Project Manager with Withum Digital.


