Learn how to work more efficiently with our webinar “Go With the Flow! Easy Automation for Office 365 and SharePoint.” Watch here.
VR for Virtual Reality is regularly highlighted as one of the technologies of the future. However, this technology is still perceived as complex and expensive—at least in a business environment. This is paradoxical because computer games nowadays are all more or less based on a VR experience.
The capabilities of this technology will allow us to be virtually transported somewhere else and be fully immersed in a new reality. For end-users, this means rich interactions and capabilities not possible before.
Though it’s natural to be skeptical of such new tech, Microsoft is leading the charge on integrating more and more 3D and VR features into its tools—especially Office 365 and Microsoft 365.

There’s already a significant rise in the use of VR in education, healthcare, business, and construction. We can predict that this trend will rise even further as the tools are democratized and end-users become more used to moving and interacting in a virtual environment.
Here’s why I’m convinced VR is a great way to go while undergoing the digital transformation so many organizations are facing.
2. Understand the topic
First, what is Mixed Reality (MR)? This is the merging of real and virtual worlds to produce new environments and virtualizations. Mixed reality refers to a continuum of reality between the “simple” reality and a fully virtual environment. Augmented reality (AR) overlays virtual objects on real-world environments.
This continuum of solutions is well summarized by this schema originating on the Mixed Reality Wikipedia page:

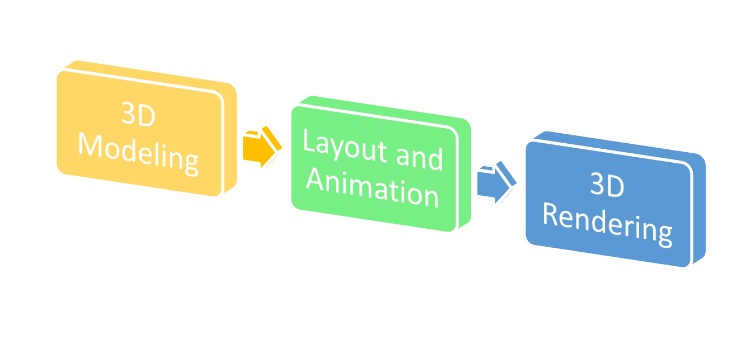
Mixed reality is intimately coupled with 3D representations of objects. 3D graphics (in contrast to 2D graphics) are either used to represent more realistic avatars of our real world or creatures and objects totally impossible in the real world. It’s beyond the scope of this article to dive too deeply into this, but you should be aware that 3D modelling is divided into three phases:
- 3D modeling – the process of forming a computer model of an object’s shape
- Layout and animation – the placement and movement of objects within a scene
- 3D rendering – the computer calculations that, based on light placement, surface types, and other qualities, generate the image
3. Experiment in Windows and Office
In Windows 10, you can experiment with 3D apps:
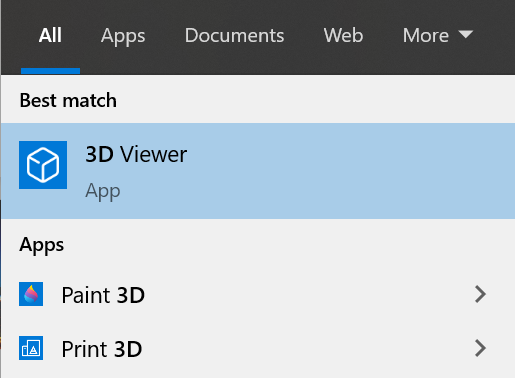
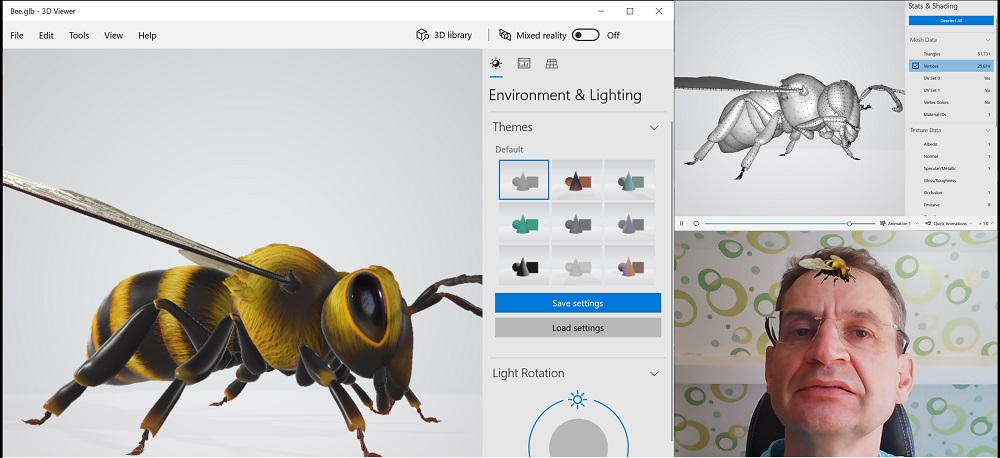
3D viewer is the place to go for first testing and experimenting with 3D models to bring your creations to life.
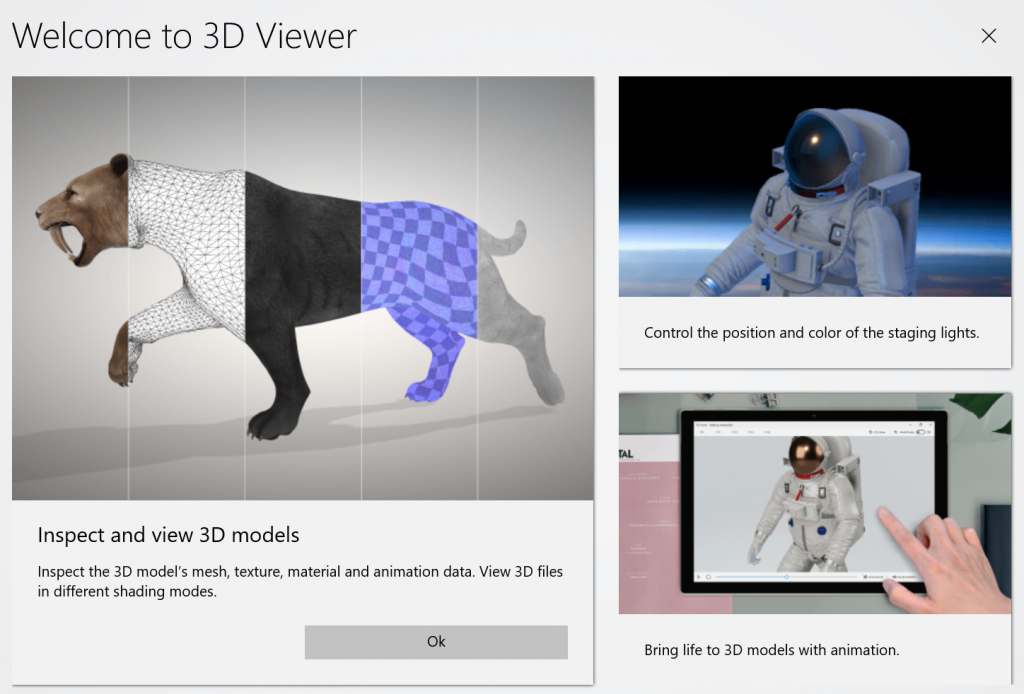
This simple yet powerful tool will give you the basic capabilities to act on and interact with common 3D files (supported extensions are : FBX, STL, OBJ, GLB, GLTF, PLY, 3MF). By default, the app opens the file bee.glb which renders a perfect 3D bee on your screen. Once there, you can easily interact with it. You can even activate the “Mixed Reality” mode to mix a fully virtual artefact like the bee with your own environment (a picture of yourself, for example).
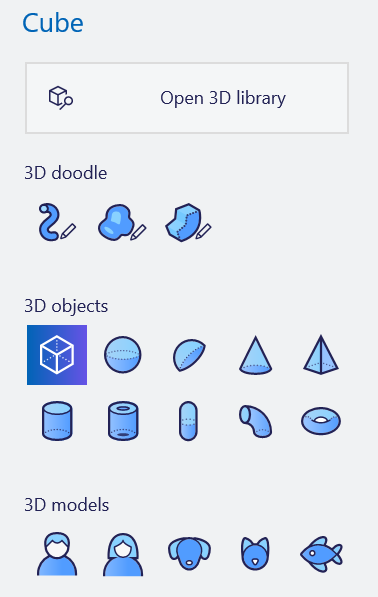
In Paint 3D, the drawing tool of Windows, you can find basic 3D Shapes as well by opening the 3D library for a bevy of preset, predefined 3D objects you can easily add to your creations.
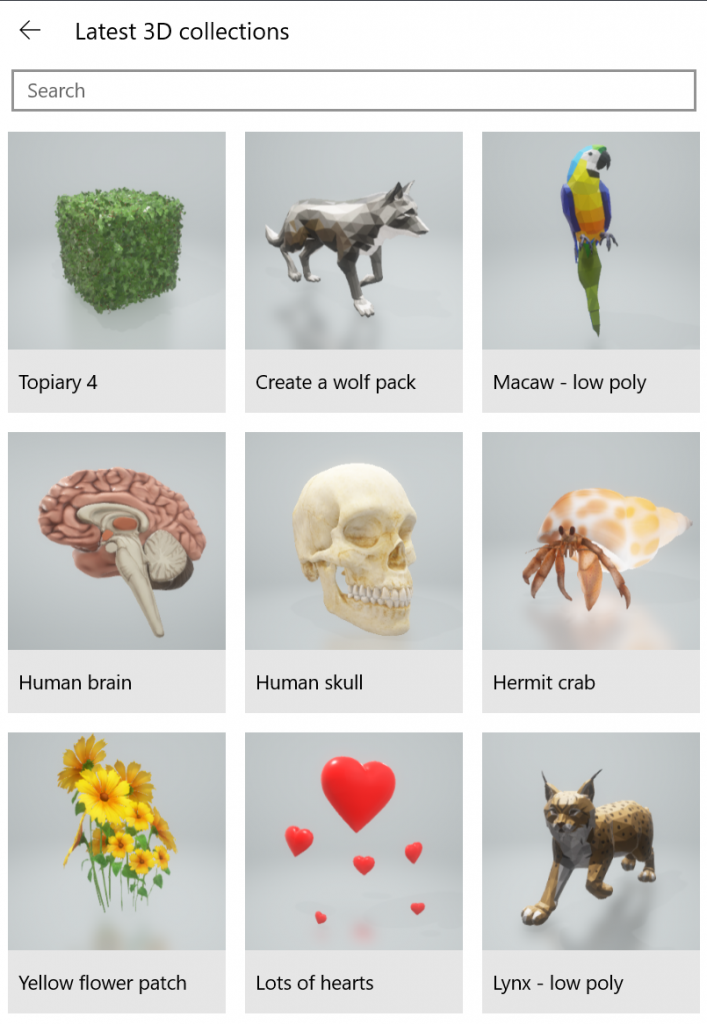
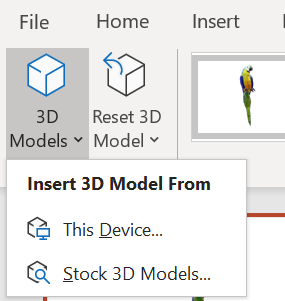
In Office apps like PowerPoint, Word, and Excel, you can add 3D models of your own (saved in a file) and 3D objects from this library of pre-canned objects (by choosing “Insert 3D Model from Stock 3D Models”). A major distinction is made between animated and non animated models.
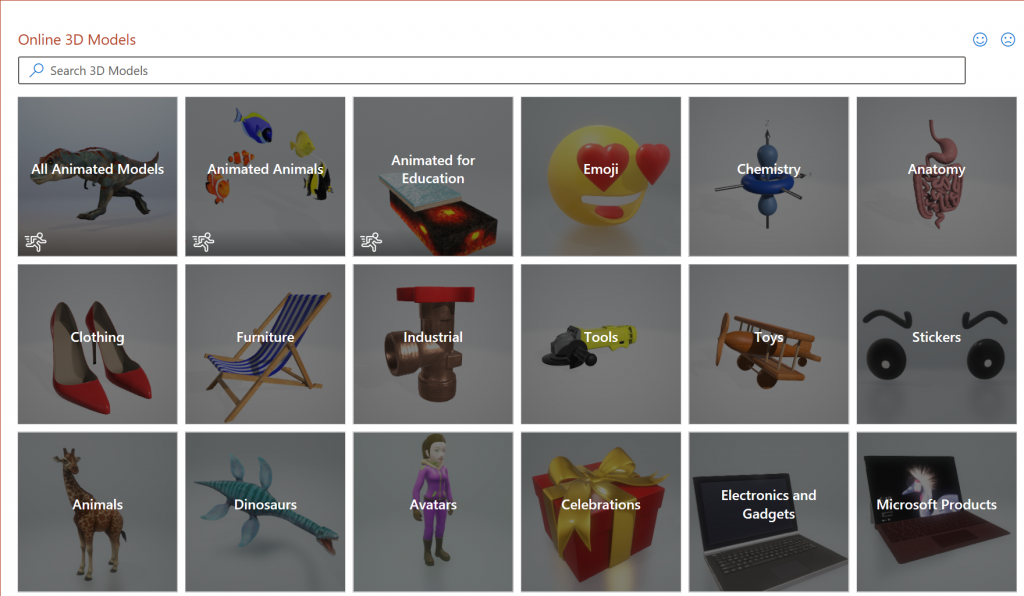
One of the more interesting dedicated features found in PowerPoint is the ability to set 3D animations for 3D objects imported into your deck:

In fact, Microsoft has been working for a few years to facilitate integration and manipulation of 3D objects into the Windows/Office ecosystem.
Whether you’re a Microsoft Office 365 user looking to acquire 3D assets or a 3D professional creating content for your clients, I recommend exploring “3D Content Guidelines for Microsoft.” It’s designed to help you be more successful with 3D in Office. It covers 4 main topics:
- 3D engine overview
- Sourcing assets
- Content Creation
- Additional resources
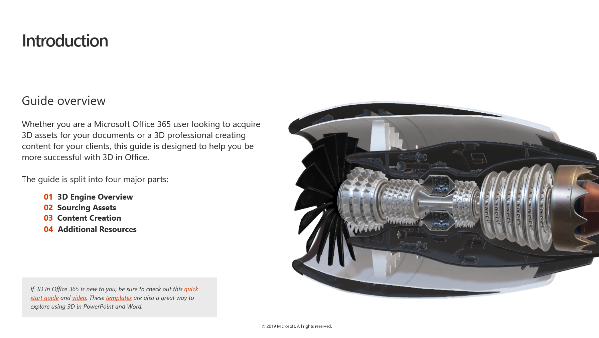
If 3D in Office 365 is new to you, be sure to check out this quick start guide and video. These templates are also a great way to explore using 3D in PowerPoint and Word.
PROTECT YOUR DATA: Learn about our Microsoft 365 backup solutions.
4. Experiment with SharePoint Spaces
Manipulating 3D objects is great, but they can only be part of a greater story or experience. SharePoint spaces is a valuable way to embed these artefacts in a common business place like an Intranet page.
SharePoint spaces is a web-based, immersive platform, which lets you create and share secure and extensible mixed reality experiences. They allow you to add a new dimension to your intranet by using 2- and 3D web parts to create your mixed reality vision.
Building a space is a lot like building a modern site—that is, you create the space and choose options such as structure, background, and theme. Then you add web parts for your 3D objects, 360° images and videos, 2D images and text, and more.
To use the feature, you must first activate it at the Site level. Go to Settings / Site Information/ View All site settings / Manage site features to activate the Spaces (preview) feature:

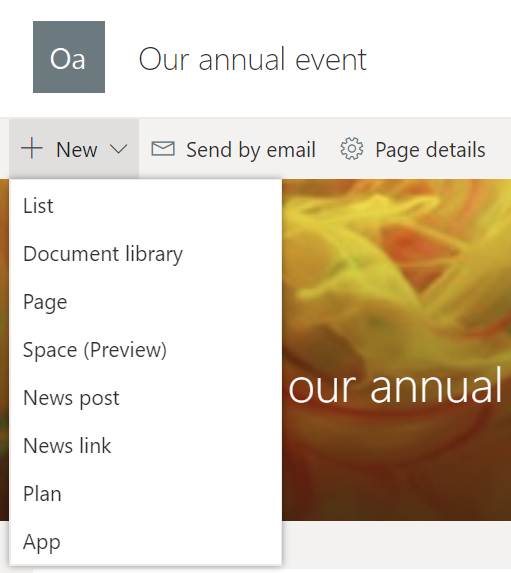
Once enabled, you can create a space on the same level where you create a page. So SharePoint Spaces are not webparts; they’re more a specific type of page.
To start with, you should choose a name and a basic structure. You have several options you can select to customize your space and taylor it to your specific needs.
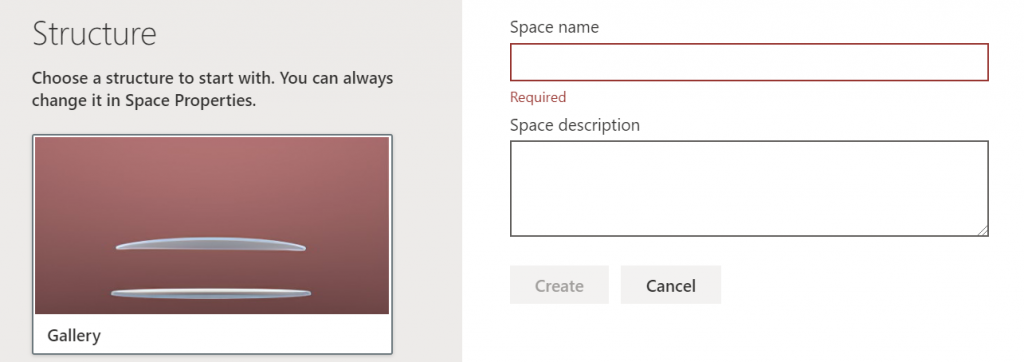
Your options are:
- Structure
- Background (picture)
- Welcome message
- Ambient sound
The background image option is interesting as it can use a flat image and curve it automatically to make it the virtual walls of the space. Now you have an empty 3D space (hence the name) or room where you can put some artefacts.
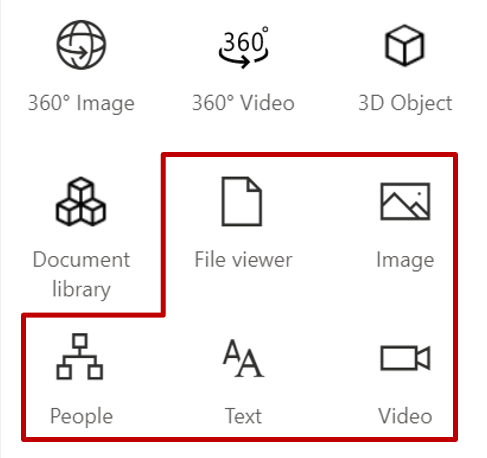
Next, there should be a plus sign on the upper left side of your space. Clicking on it will give you access to a palette of nine webparts.
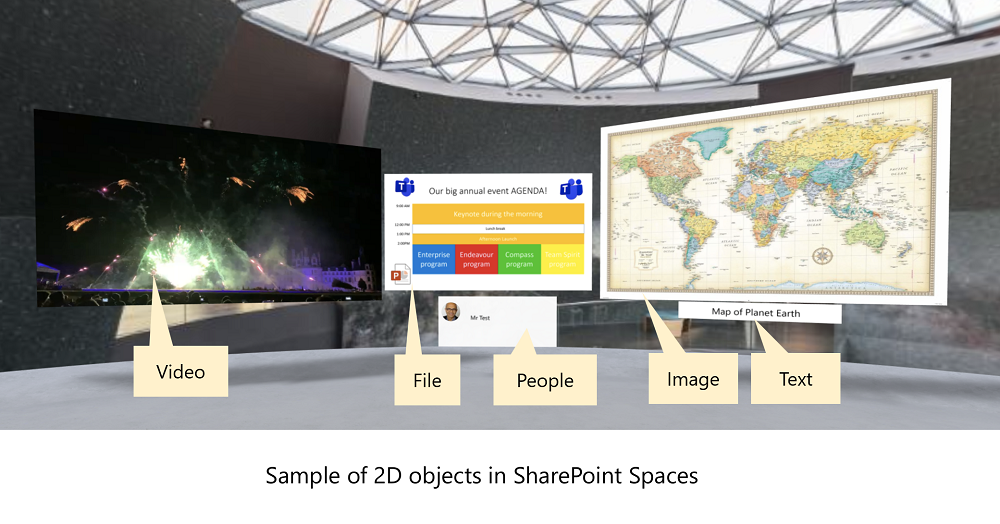
You have 2D objects like:
- Text
- Image
- People
- Video
- File viewer
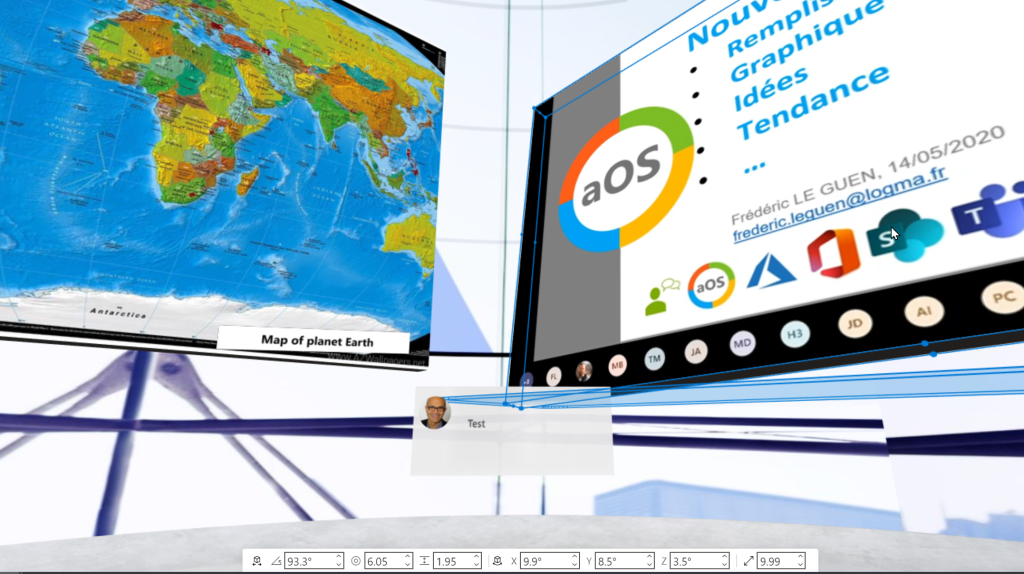
These are displayed as a flat screen floating in the 3D space. You have many options there to precisely position your artefact in that space, but on a 2D screen it’s not always easy to position these artefacts at the correct place. Think of the default space like a round table where you can put your things.
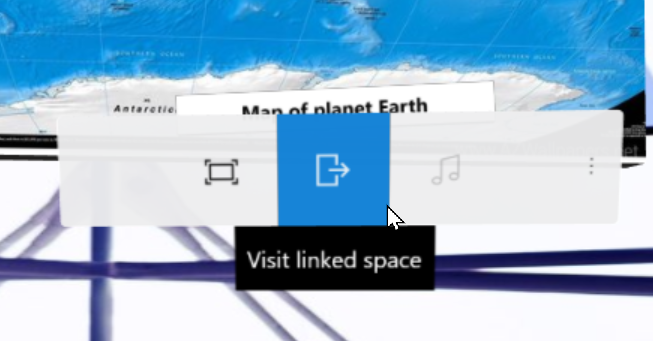
Then you can add interactivity and choose up to four actions that will be associated to a click on that object:
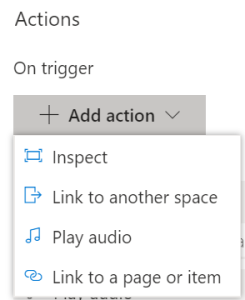
On trigger means the default action on left click and “More actions” will be proposed on right click. And it displays like that in the 3D space:
And you have 3D webparts as well.
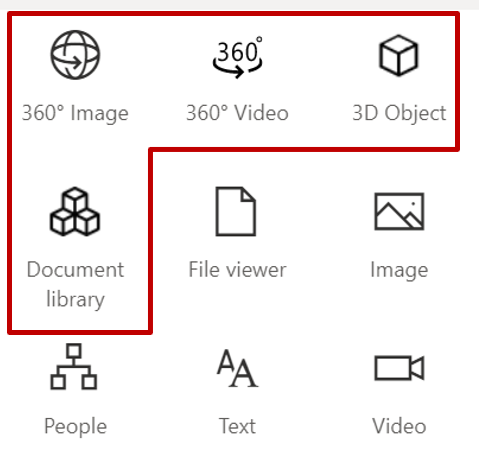
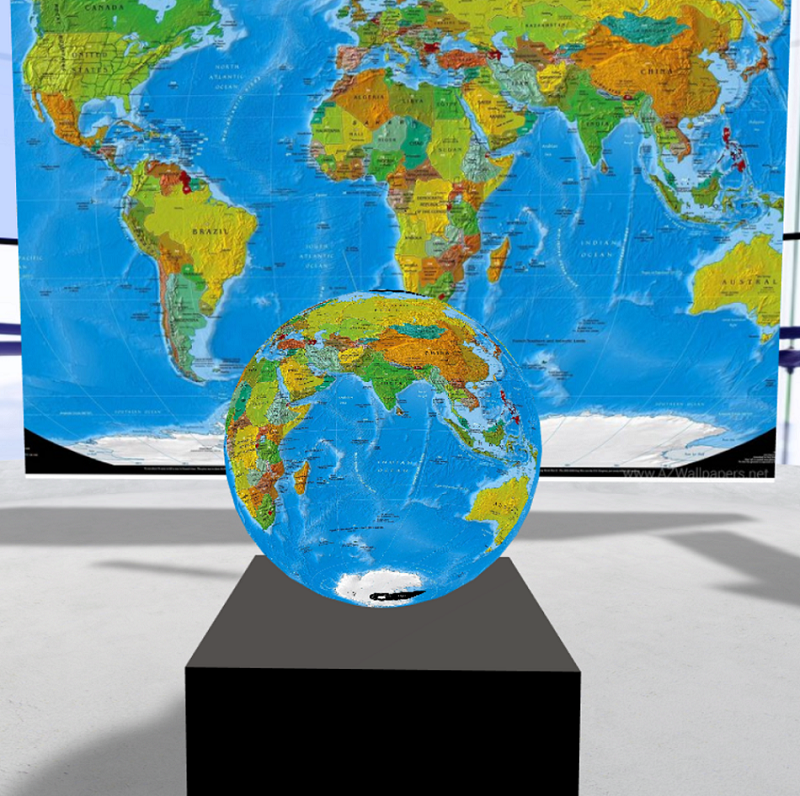
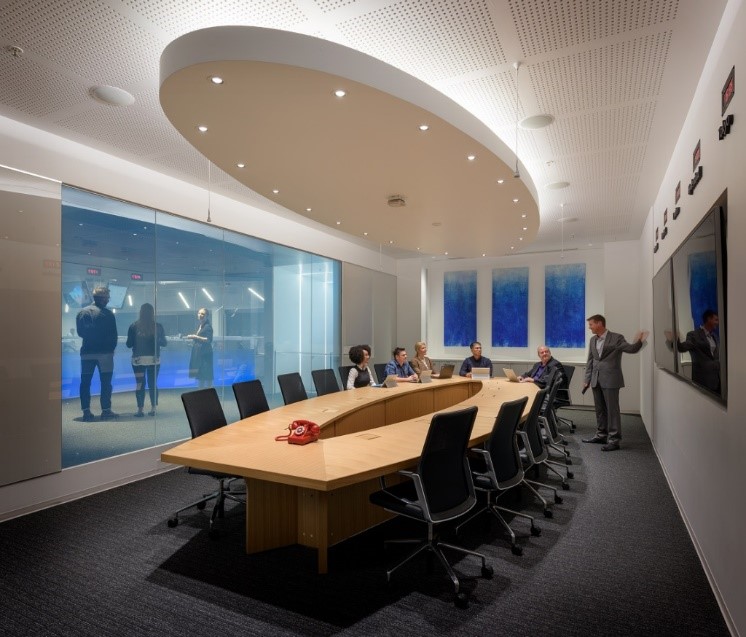
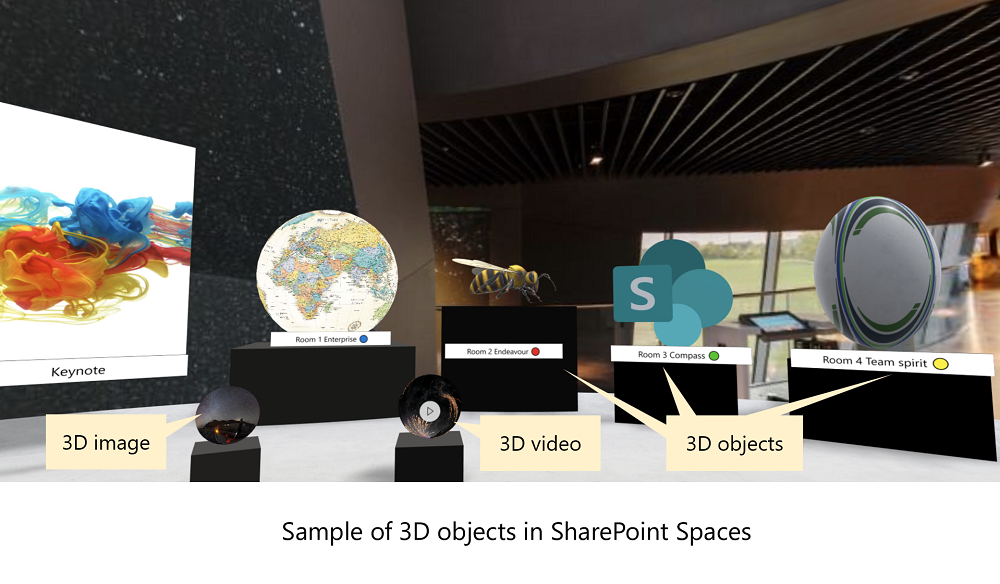
360° Image takes a flat 2D Image and renders it on a sphere. It’s exactly like taking a map of Earth and displaying it on a globe. In the example below, the two maps are from the same flat file:
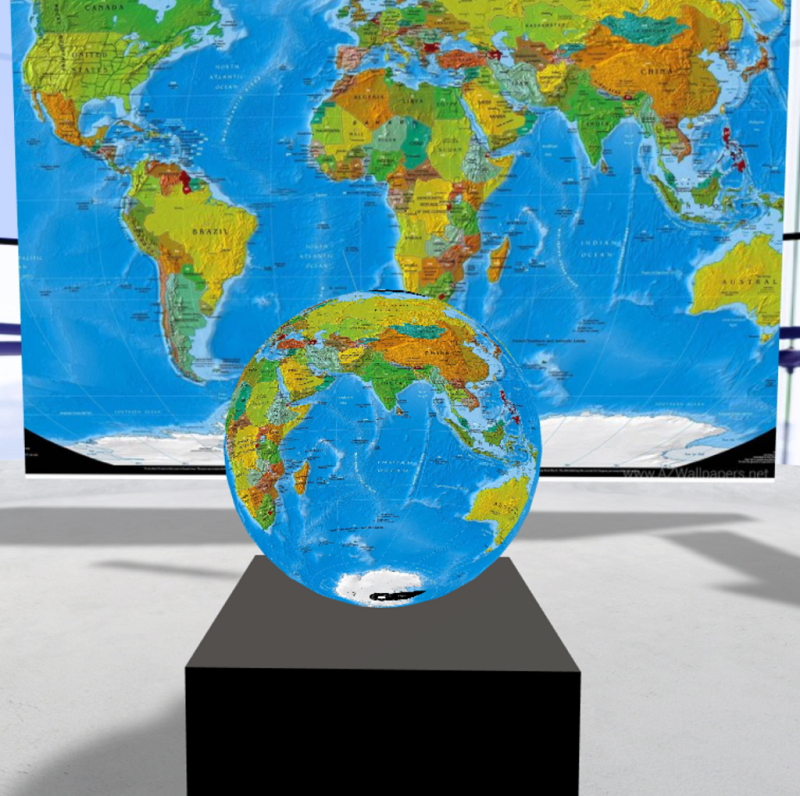
Here is a flat image that can be used and transformed via this mechanism:
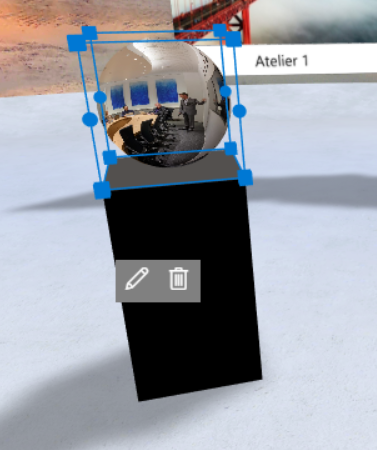
360° Video takes a flat 2D video and renders it on a globe which can produce strange results.
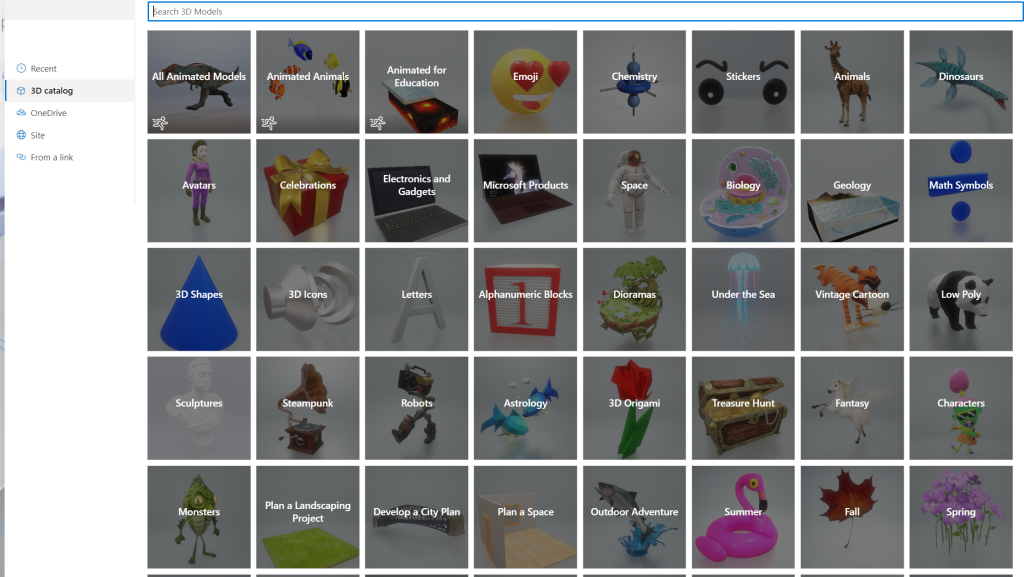
3D object webpart allows you to directly incorporate a 3D model into the space. Better yet, you can use the same catalog of objects found in Office applications as 3D models for this purpose.
Lastly, the document library object can be used to display a combination of 3D objects, 360° images, 360° videos, documents, and 2D videos. It currently does not support showing 2D images in a document library.
5. Find your application
Of course, you have to find where and when to use this type of mixed reality. My first 3D use case was driven by a customer need. I had to create a 3D landing page for a corporate event.
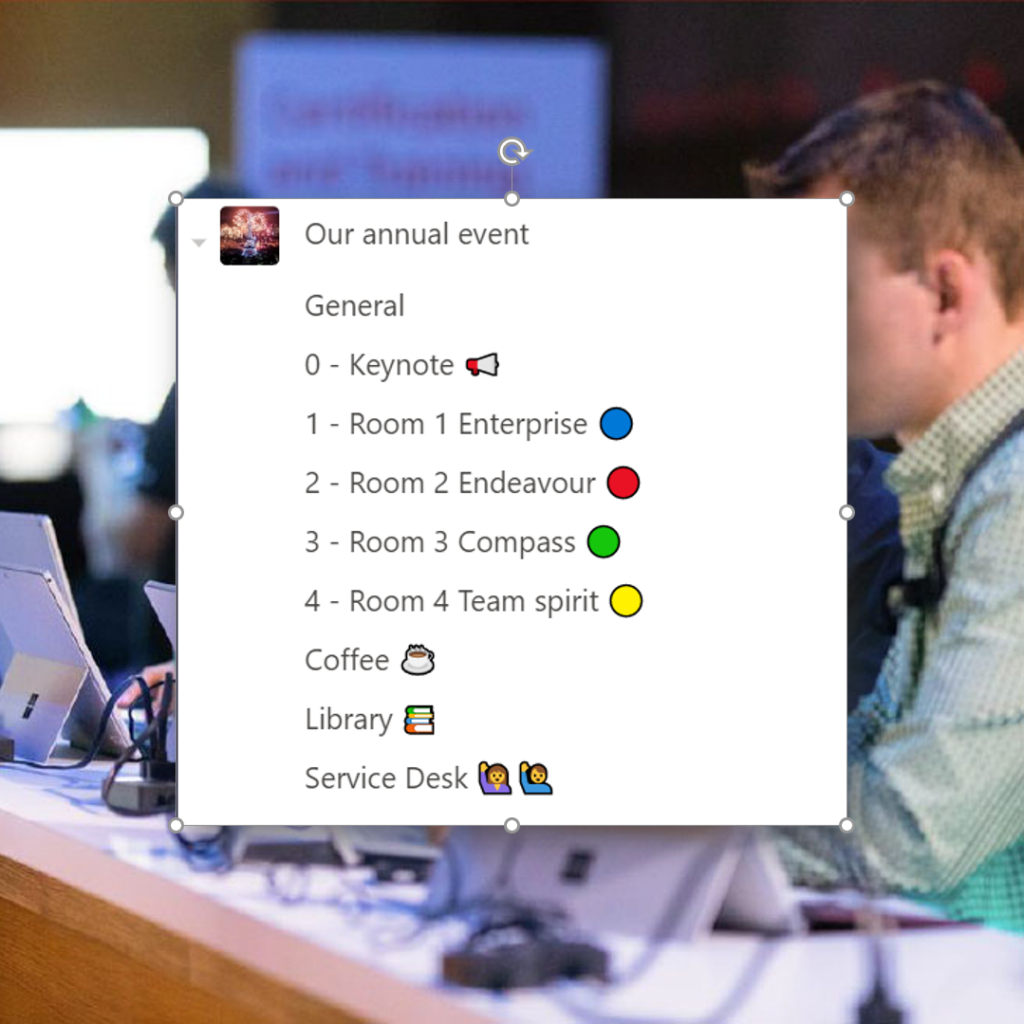
The corporate event was hosted in Microsoft Teams in a typical way with several channels dedicated to different topics.
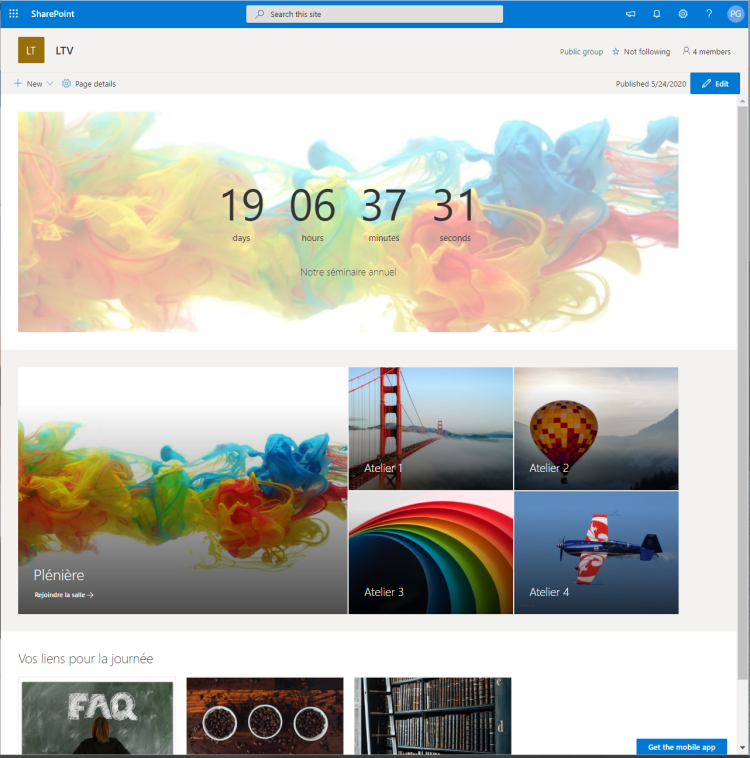
Here’s an example of a standard SharePoint page that can be used to point to the different meetings and channels in Teams:
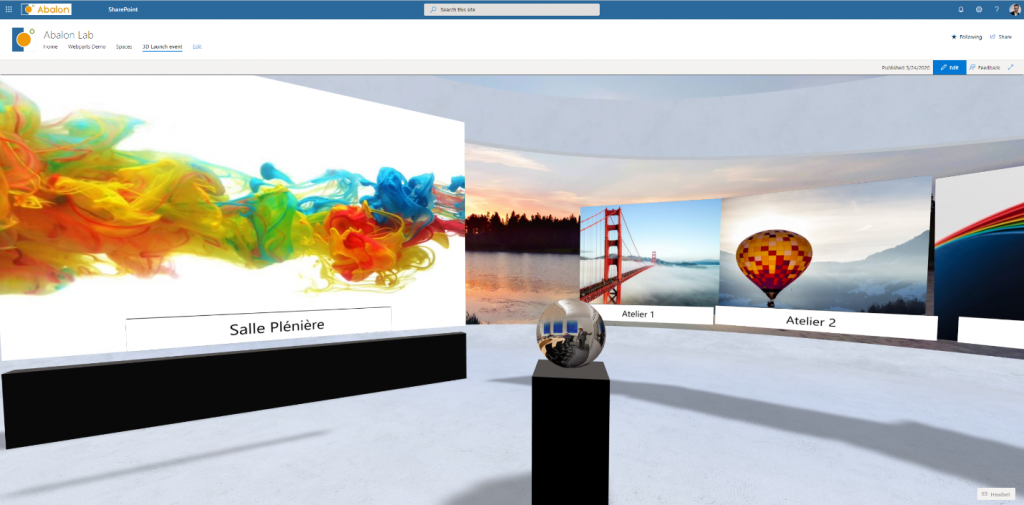
And here is the resulting 3D space that could favorably be compared with the SharePoint landing page:
I described the whole creation process in my post “Creating a 3D landing page for a corporate event with SharePoint spaces.”
I’m confident that businesses will find innovative ways to present and consume information leveraging virtual reality. Here are just a few examples presented at Ignite 2019:
- Onboarding and campus tours
- Product catalogs and training
- New product launches

Have you found a way to use SharePoint Spaces in YOUR business? Let us know in the comments.

