How To Invite External Users in Azure Active Directory B2B

Many organizations collaborate not just internally, but also externally through different ways such as file sharing, partner meetings, library access, and more. This collaboration increases the growth of businesses and expands their network at the same time. In this post, let’s see how Azure AD handles external collaboration through guest user access and how you can start inviting external users to your tenant’s resources.
What is Azure Active Directory B2B Guest User Access?
Azure AD business-to-business (B2B) collaboration is a feature within External Identities that allows organization to invite guest users to externally collaborate. Organizations can securely share their apps, resources, and services with users from other organizations with permission using their own identity (as authorization) in accessing the tenant’s environment. There are a broad range of identities supported in this feature such as Google, Facebook, Microsoft accounts, and other enterprise identities.

How Does It Work?
The sharing organization can send an invitation to B2B external users as a group to an application or tenant’s directory. Once the invitation has been sent, the external user’s account will be added to Azure Active Directory (Azure AD) as a Guest-type user. Afterwards, they need to redeem the invitation to complete the process and have access to shared resources, applications, and/or services. The invitation to the guest user does not expire.
Since this connection allows external users to use their own identity–either work, school or social–it will be easier for users to collaborate externally. Moreover, there is no burden put on admins managing these external accounts. They don’t need to monitor and manage external credentials or sync accounts or account lifecycles since they’re being managed by a guest user’s own admins.
Inviting Guest Users From the Azure AD Portal
Before you proceed, make sure you have the right permission to create users in your tenant directory. Look for roles like Global Administrator or limited admin directory roles such as Guest Inviter or User Administrator. You can also first do some testing by sending an invite to your own external email account.
The invitation to guest users can be easily done in the Azure AD portal. This can also be done through PowerShell.
- Sign in to the Azure portal as an Azure AD administrator and go to Azure Active Directory from the left pane.
- Go to Manage > Users

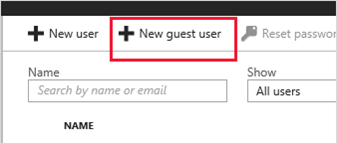
- Select New guest user

- Afterwards, select Invite user and input the guest information as asked:
- Name – The first and last name of the guest user.
- Email address (required) – The email address of the guest user.
- Personal message (optional) – Include a personal welcome message to the guest user.
- Groups – You can add the guest user to one or more existing groups, or you can do it later.
- Directory role – If you require Azure AD administrative permissions for the user, you can add them to an Azure AD role.
- Select Invite to automatically send the invitation to the guest user.
- After you send the invitation, the user account is automatically added to the directory as a guest.
Enforce Policies to Have a Secured Guest User Collaboration
Like in our home, we want to ensure our security by installing safety equipment. Same goes with allowing external users to access your resources–you need to make sure that data is well protected while enjoying the B2B collaboration.
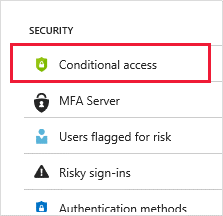
You can enforce authorization policies to protect your corporate content and resources. Conditional Access policies can also be utilized by implementing multi-factor authentication at the tenant level, at the application level, or for specific guest users to protect corporate apps and data.

Assign an Application or Service to a Guest User
- Sign in to the Azure portal as an Azure AD administrator then select Enterprise applications from the left pane.
- Select New application.
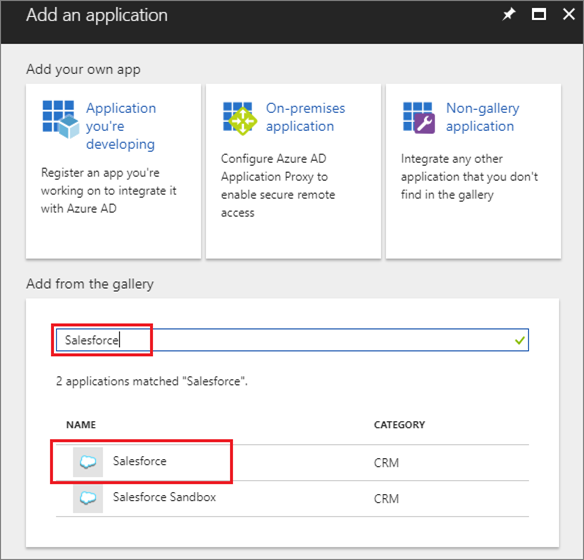
- Under Add from the gallery, search for Salesforce and then select it.

- Select Add.
- Under Manage, select Single sign-on, and under Single Sign-on Mode, select Password-based Sign-on, and click Save.
- Under Manage, select Users and groups > Add user > Users and groups.
- Use the search box to search for the guest user then select
However, as an admin, it could be cumbersome to process multiple invitations when requests or needs arise. With this, you can actually assign guest user management to app owners to allow them to invite guest users directly to any application they want to share.
- Administrators can set up self-service apps and group management.
- Non-administrators use their Access Panel to add guest users to applications or groups.
Redeeming Guest User Invitations
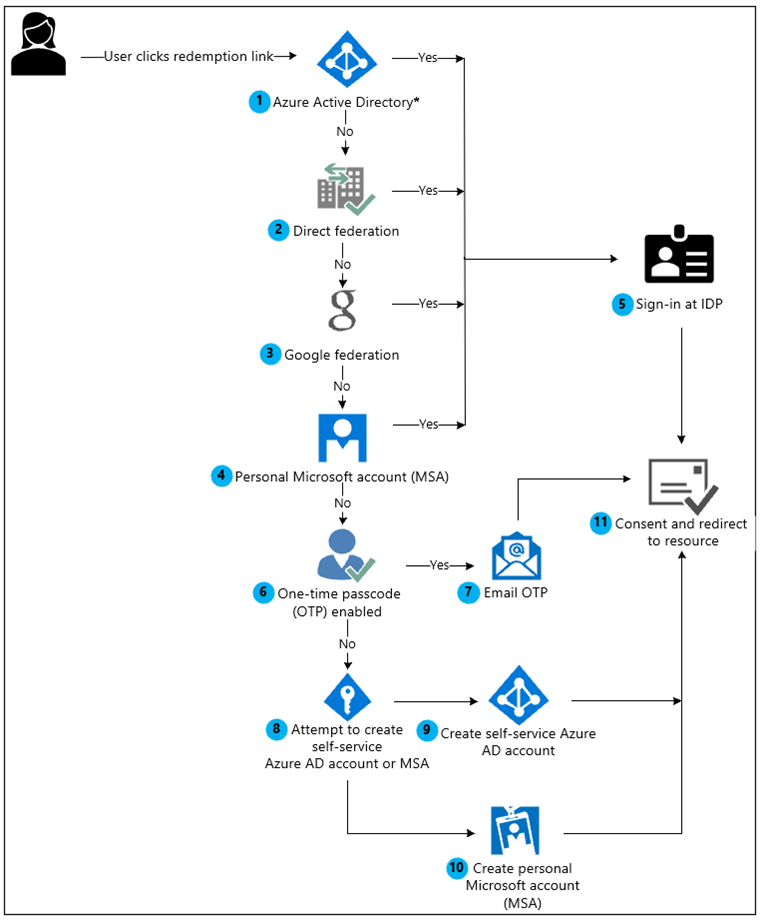
Redeeming the collaboration invite can be done in multiple ways: through direct link, through an invitation email, or by signing in to the MyApps page (more on this process here). The diagram below shows the sample flow of the redemption process through an email invite.

Revoking guest user access to your organization’s resources can also be done easily. Follow the same steps as when you created the user, but this time choose Delete user to complete the process. Check out this Microsoft documentation for the complete step-by-step.
This Azure AD B2B guest access feature can really be a great help for users in your organization to easily collaborate with partners and external users, reducing the amount of sharing duplicate files or documents while ensuring data security.
For more Azure insights stay in the know by subscribing to our blog.
Adrian is currently a member of AvePoint's project management team. In his previous role as a Content Marketing specialist at AvePoint, Adrian covered the latest trends and topics on what’s new in technology, SaaS Management & Governance, SaaS Backup and Data Management.


