5 Simple Steps to Getting Started with Free #MicrosoftTeams
Looking for more Microsoft Teams advice? Check out our free webinar “Beginner to Super User: Top 10 Microsoft Teams Tips” for expert insight.
Microsoft recently surprised everyone and released a version of Teams completely free of charge. As a relatively new user of Teams myself (I’ve only been using the platform for a little over two months), I decided to give this new free version a spin. Read on for six easy-to-follow steps on how to get started with the new free Microsoft Teams.

The basic setup for free Microsoft Teams is pretty straightforward. After entering and confirming the email that you’d like to use, you’re prompted to verify it through a simple code (to, you know, ensure that you’re not a robot).
Next is filling in company information: size, name, phone number, etc. Once all that’s taken care of, it’s finally time to open the app.
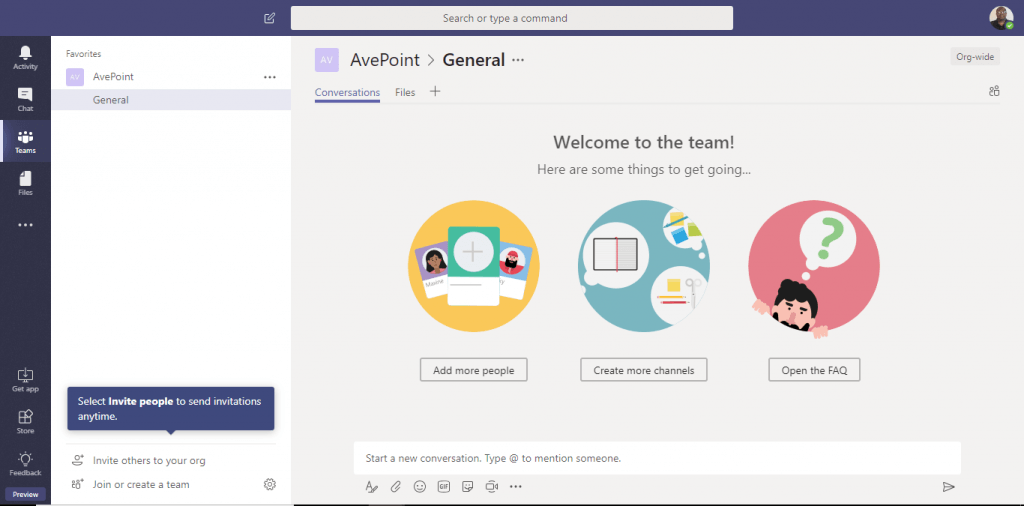
At first blush it becomes apparent just how similar the free version is to the full platform available in Office 365. From the interface to the options menu, it really does feel like you’re getting the full experience here.
Step 1: Basic Setup
Before we can dive in, though, there’s some housekeeping to be done. After entering your name and uploading a picture (an oft overlooked step), you’re then able to invite up to 299 other people to join your Team via email invitations. You can either invite everyone at once or come back and add more later; your choice.
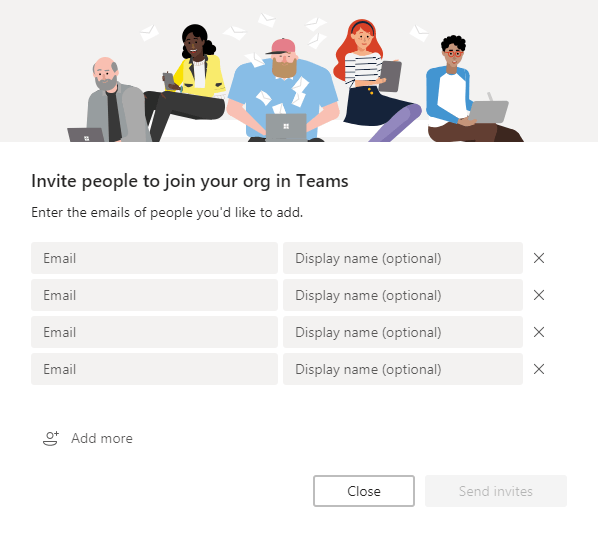
Whoever signs up for free Microsoft Teams is designated as the system administrator for your company. This means you can create teams, invite collaborators and organize specific channels for whatever you’d like.
Step 2: Create a Team
Creating a new team is surprisingly straightforward. You simply click on the “Join or create a team” button in the bottom left-hand corner, click on the “Create team” button that pops up…
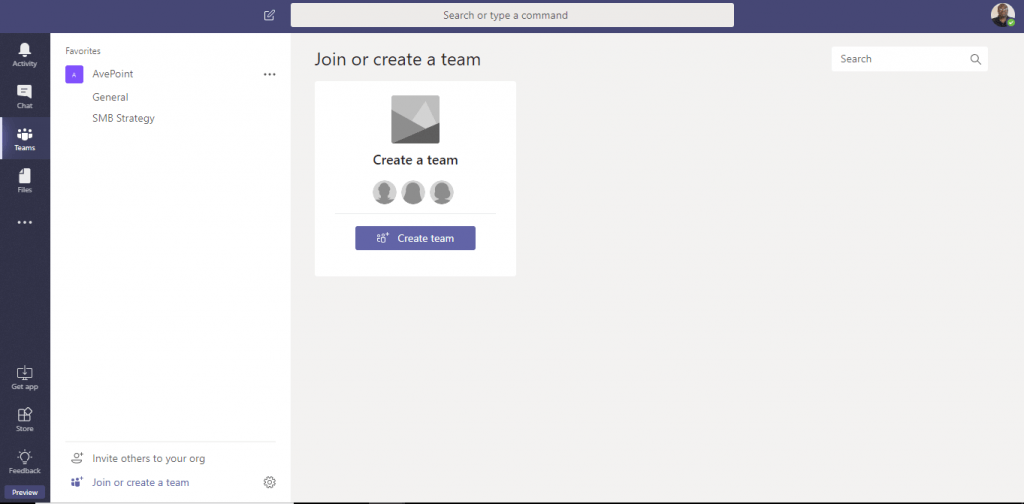
…then input basic information such as your team name, a team description, and whether the team is public or private…
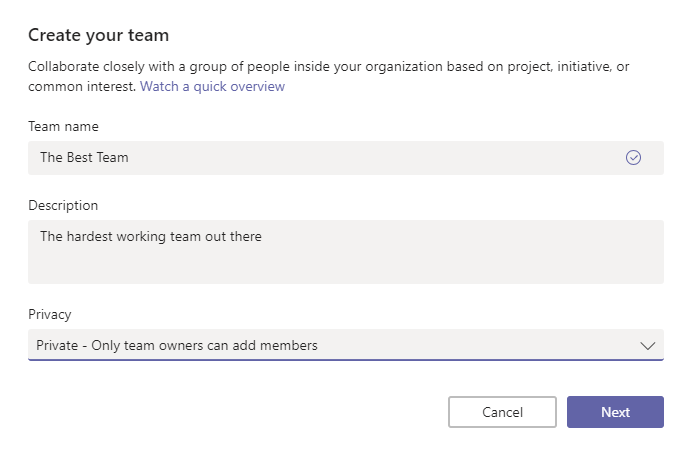
…and voilà! You’ve made your first team in a matter of minutes.
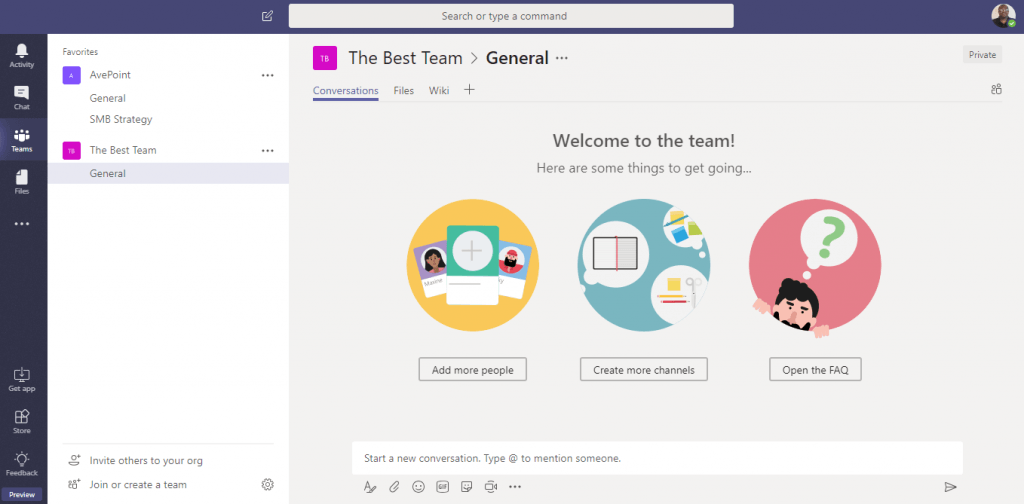
Step 3: Create a Channel
From here, creating channels isn’t too different from creating teams. Just click the “Create more channels” button and you’ll be greeted with the following prompt:
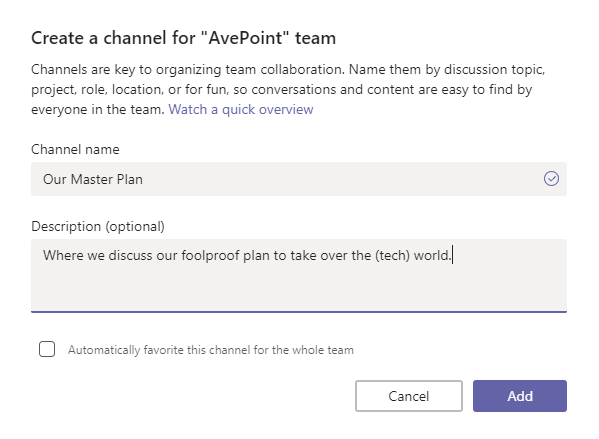
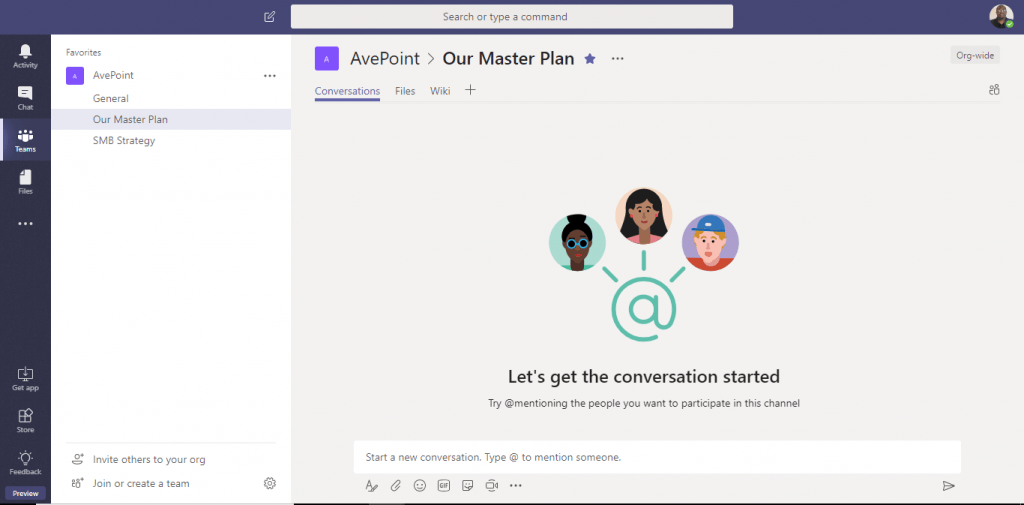
Similarly to team creation, Microsoft managed to make this part of the process as accessible as possible. Now you’re free to start adding files and collaborating with your team.
Step 4: Utilize Team’s Built-In User Resources
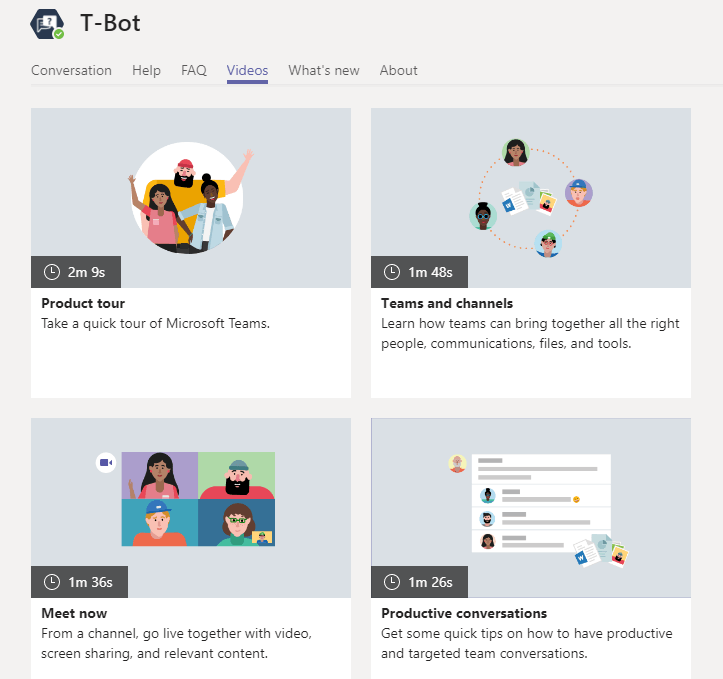
Help will offer you a more traditional manual that covers everything from messaging governance to file organization in Teams. It’s complete with both links and screenshots, and really does a great job of breaking everything down into easy-to-understand chunks. The videos also do a great job of providing streamlined explanations for more visual learners.
Step 5: Leave Feedback!
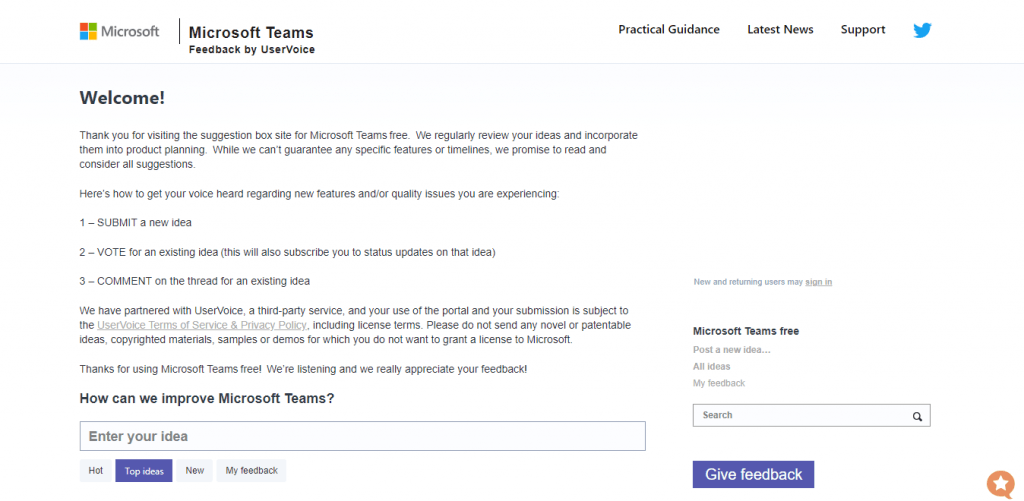
There’s a handy Feedback tab in the bottom left that brings users to a “suggestion box site” specifically for Microsoft Teams free. Give them feedback and let Microsoft know your impressions directly!
All in all, I found free Microsoft Teams to be every bit as polished and easy to use as the full version I use every day at the office. Creating teams, channels, and using the chat interface are all extremely easy to do. If you’re on the fence, I’d encourage you to at least give the free version a shot.
Bonus: Video Guide!
For a step-by-step video guide for getting started with free Teams, check out Dux Raymond Sy’s playlist of short how-to videos below:
Like what you read? Be sure to subscribe to our blog for plenty more Microsoft Teams content.
As the former Content Marketing Specialist for AvePoint, Brent led the strategy and direction of all AvePoint's blog properties.


